Posts tagged Seasons
Gentle January

by Kelly Knight, Marketing Manager for The Good Table

From the Kitchen

Something I’ve been thinking about this week is about how rude New Year’s resolutions are. After the indulgence and coziness of December, the expectation that we’ll all just jump into goal-setting and capitalistic productivity just seems like a vast disconnect. No disrespect if that’s your vibe, but it’s always just seemed so weird to me that we’ve collectively decided, somewhat arbitrarily, that January is the time to optimize for our best selves.

It’s winter. Winter is a time for hibernation, for rest, for nestling ourselves in blanket forts with good books. One of my favorite writers, Helena Fitzgerald of Griefbacon, writes:

Winter … offers permission to turn away, to nest, to build forts and climb into the imagined worlds within them.

In winter I remember all the movies I always mean to get around to watching. It’s a good time for sitting down with multi-part epics and three-hour grand undertakings. I make up little thematic film festivals in my own home and drown the day in them. It’s easier to focus on a screen or a page indoors when outdoors is a cold, blank void. The sense of waiting that winter offers is sometimes a comfort. This is a time to plant and plan and not yet expect anything from the frozen ground. Here, work and love can be interior and unseen, burrowing through a long night, keeping warm and making plans for when springtime comes. Winter is comforting in a perverse way, but it’s still comforting all the same, huddled up in small spaces, making blanket forts and cooking a spicy heavy stew so that the house smells like an embrace, and then watching all the Matrix movies in one day without even feeling a little bit guilty. 

Instead of hopping right back into an exercise routine, a diet, or a bunch of habits I’ll probably leave behind by March, I’m going to embrace the concept of Gentle January.

I’ve seen this term around Instagram. It’s best encapsulated by this post:

My own Gentle January project is making toast. Toast is my coziest food - when I’m sick or sad, I reach for toast. But to make it interesting, I’ve been exploring toppings. As it turns out, toast is the perfect vehicle for pretty much anything! (Open secret: it’s basically an open-faced sandwich.)

Here are some of the toasts I’ve made during Gentle January:

From left to right, in rows, from the top:
1. Boursin garlic & herb cheese spread, homemade pickled red onions, manzanita olives, skipjack tuna
2. Cream cheese, roasted red peppers from a jar, crispy chickpeas
3. Cucumber, cream cheese, Trader Joe’s “Everything But the Bagel” seasoning
4. NuttZo nut butter, raspberries, hemp hearts
5. Goat cheese, beluga lentils, chives
6. Avocado, homemade pickled red onions, crispy chickpeas
7. Boursin garlic & herb cheese spread, homemade pickled carrots, fresh dill
8. Cream cheese, Fig & Apple tart cherry & white tea preserves
9. NuttZo nut butter, banana, shaved chocolate

There are endless variations, and it’s a pretty low barrier to entry to try this. You probably have a bunch of things on-hand to try. So if you’re looking for a snack or easy meal, try toast. Also, keep your twinkle lights up for January, if you haven’t taken them down already. Why not?

Have a great Gentle January everyone!

The Good Table At Home: Overwintering Dahlias

by Kelly Knight, Marketing Manager for The Good Table


I’m a big fan of dahlias. I’ve even gone so far as to have them tattooed on my back. They’re my favorite flower, hands down. This past year, I cultivated a dahlia garden with ~16 varietals of dahlias, but now that winter is coming, it’s time to overwinter them!

The Bay Area is in the USDA Hardiness Zone 9A & 9B, so we don’t really have to dig up the dahlias — they’ll survive in the ground with mulch on top of their soil. But I do find that by digging them up and dividing them, I get more blooms the next year.

The process is pretty simple:

  1. Cut them down to the dirt, and wait 2 weeks to let the tubers harden off

  2. Dig up the tubers, brush off the loose dirt, and let them dry out for 2-3 days

  3. Separate them with a sharp tool, making sure you keep the eye and neck of the tuber intact

  4. Label them (either as a layer or clump, or individually)

  5. Store in a plastic bin with vermiculite or peat moss, in a dark place consistently around 50 degrees Fahrenheit — the coldest part of your basement, if you have one, or an uninsulated garage

If you’d like to see how to do this, here’s an informative YouTube video on how to set all this up:

Happy dahlia-ing! May your tubers be easily divided and your flowers be plentiful!

The Good Table At Home: Literally the Best Pumpkin Bread

by Kelly Knight, Marketing Manager for The Good Table

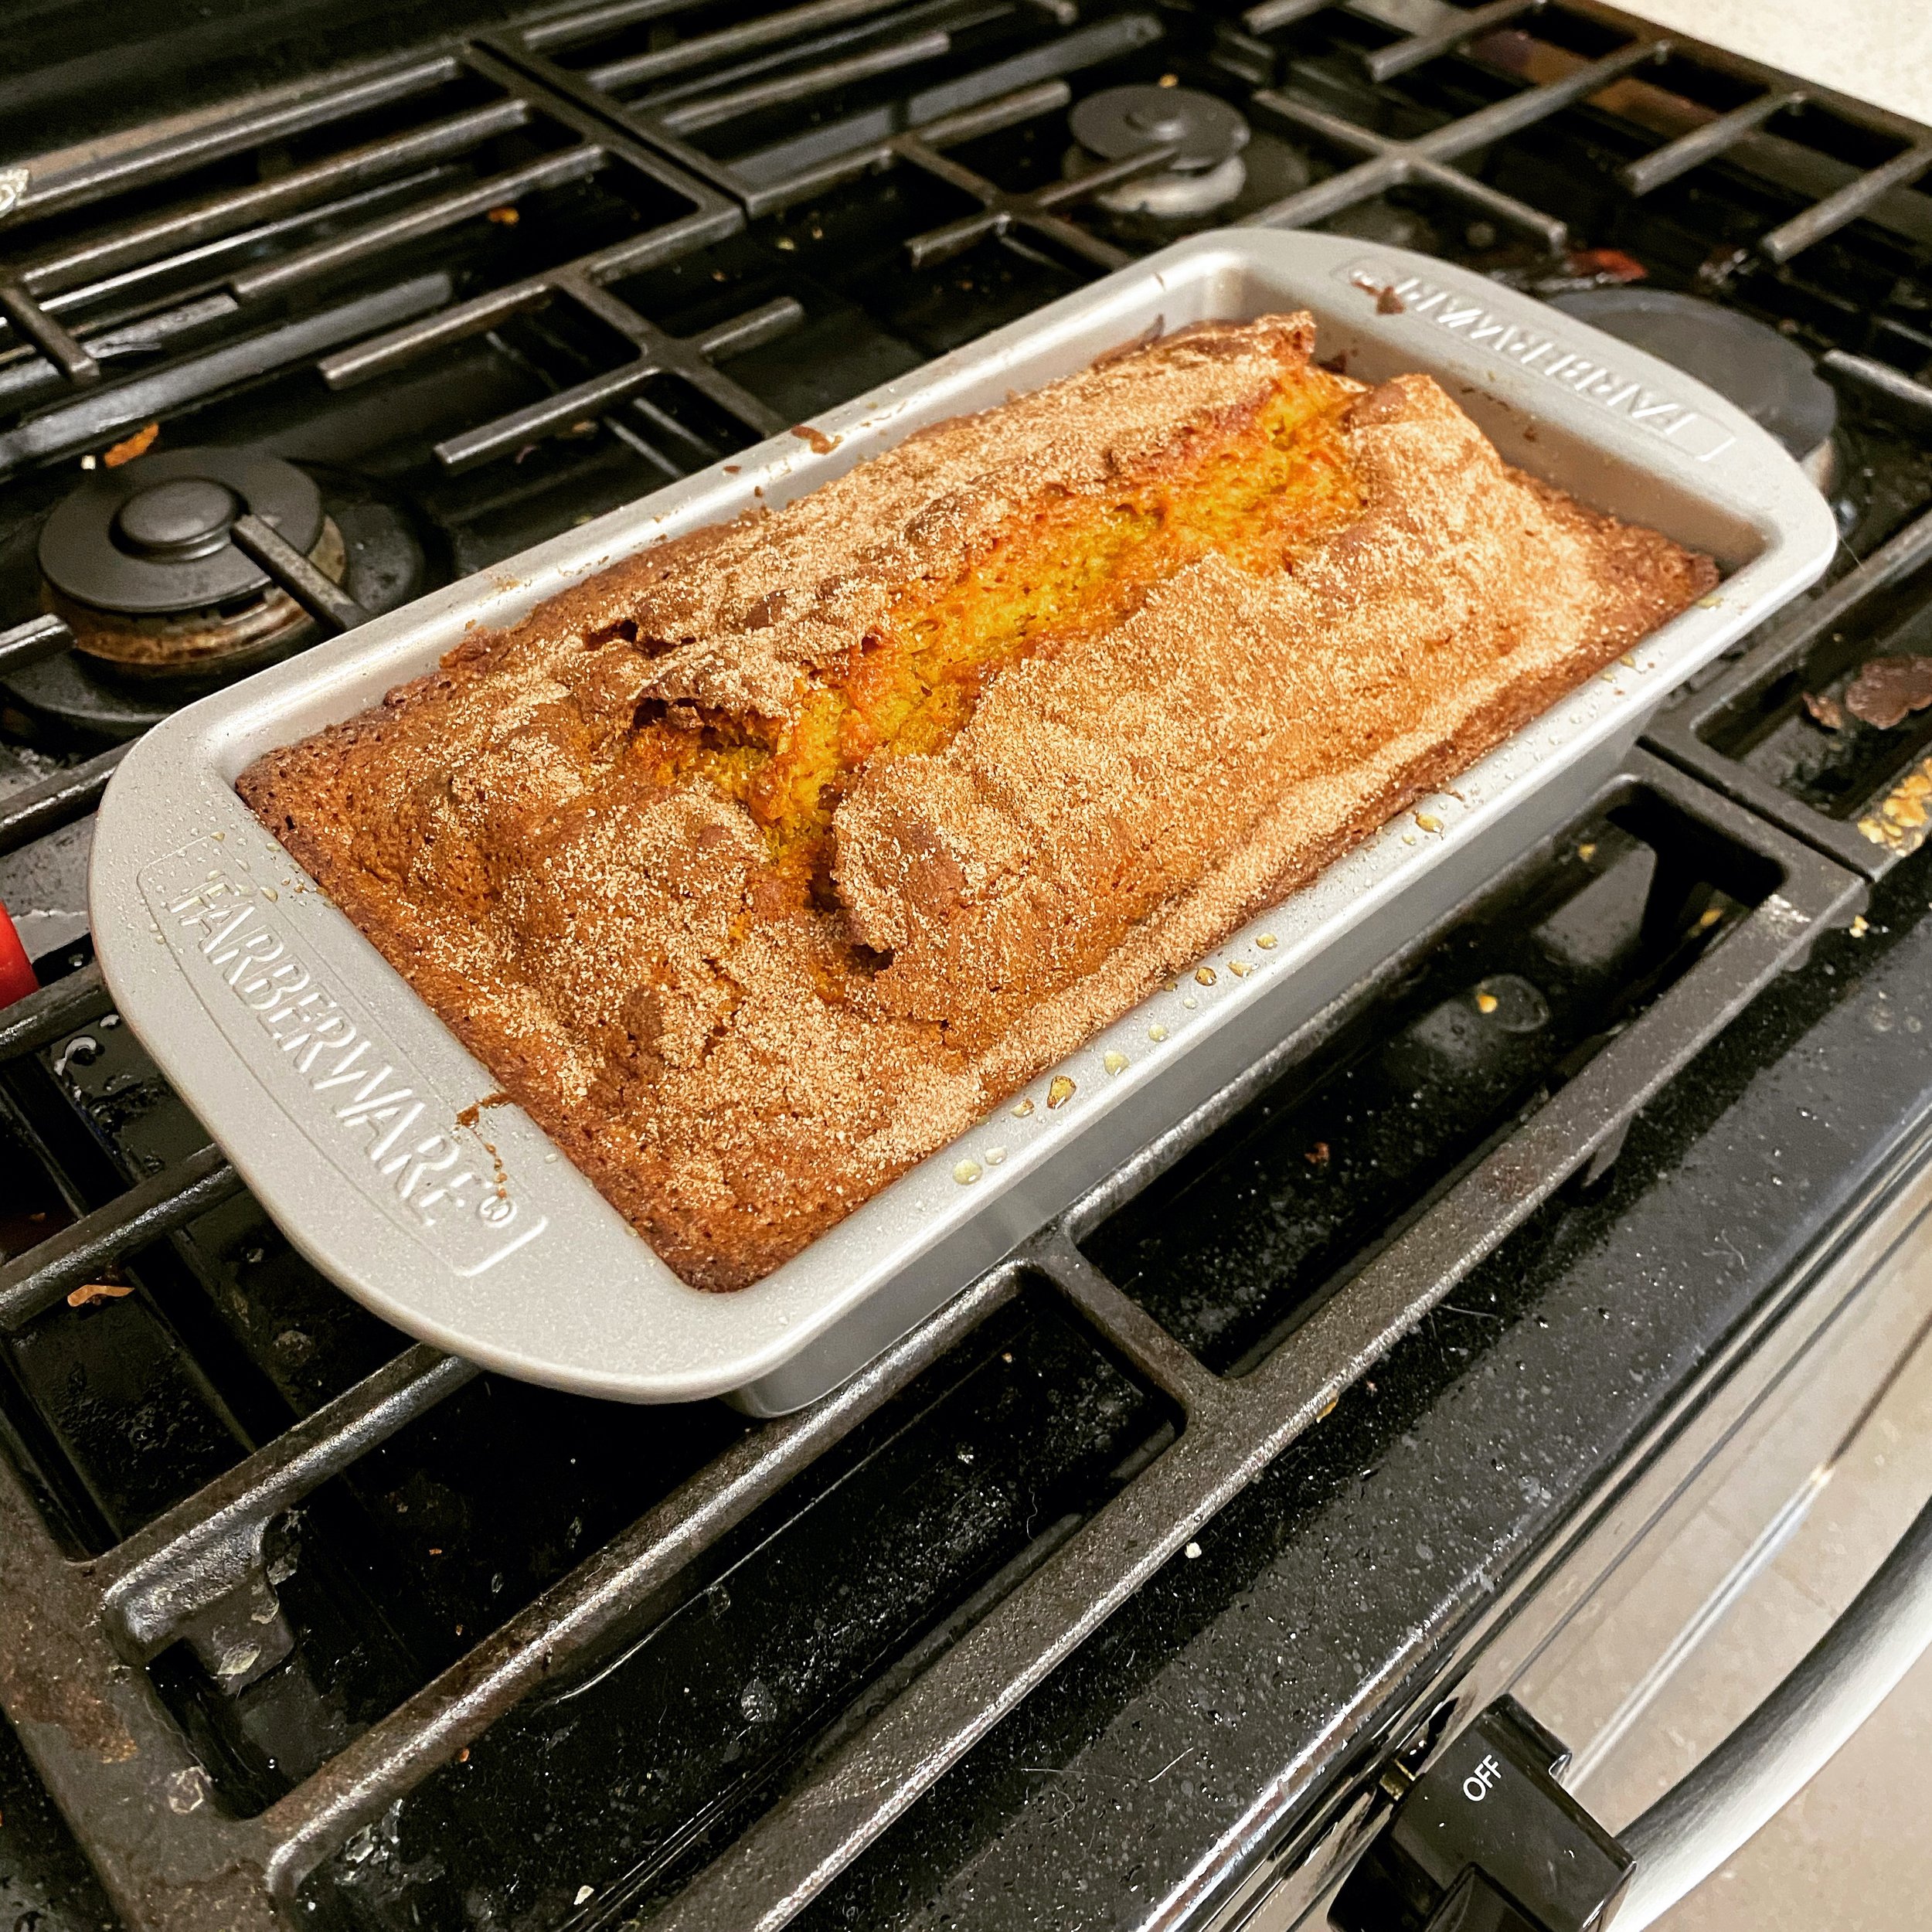
Pumpkin can be divisive, especially when it comes to seasonal beverages. However, I happen to really love it, and I’m always on the hunt for a solid pumpkin bread recipe. This one from Smitten Kitchen is, hands down, the best one I’ve ever tried. It’s soft and warming, with the right balance of spices, and the cinnamon sugar crust on the top provides this crunch that’s truly divine. If you like pumpkin, you gotta try it.

Pumpkin bread, image: Kelly Knight

Pumpkin Bread
by Smitten Kitchen

INGREDIENTS
1 15-ounce can (1 3/4 cups) pumpkin puree
1/2 cup (120 ml) vegetable or another neutral cooking oil or melted butter (115 grams)
3 large eggs
1 2/3 (330 grams) cups granulated sugar
1 1/2 teaspoons baking powder
3/4 teaspoon baking soda
3/4 teaspoon fine sea or table salt
3/4 teaspoon ground cinnamon
Heaped 1/4 teaspoon fresh grated nutmeg
Heaped 1/4 teaspoon ground ginger
Two pinches of ground cloves
2 1/4 cups (295 grams) all-purpose flour

TO FINISH
1 tablespoon (12 grams) granulated sugar
1 teaspoon ground cinnamon

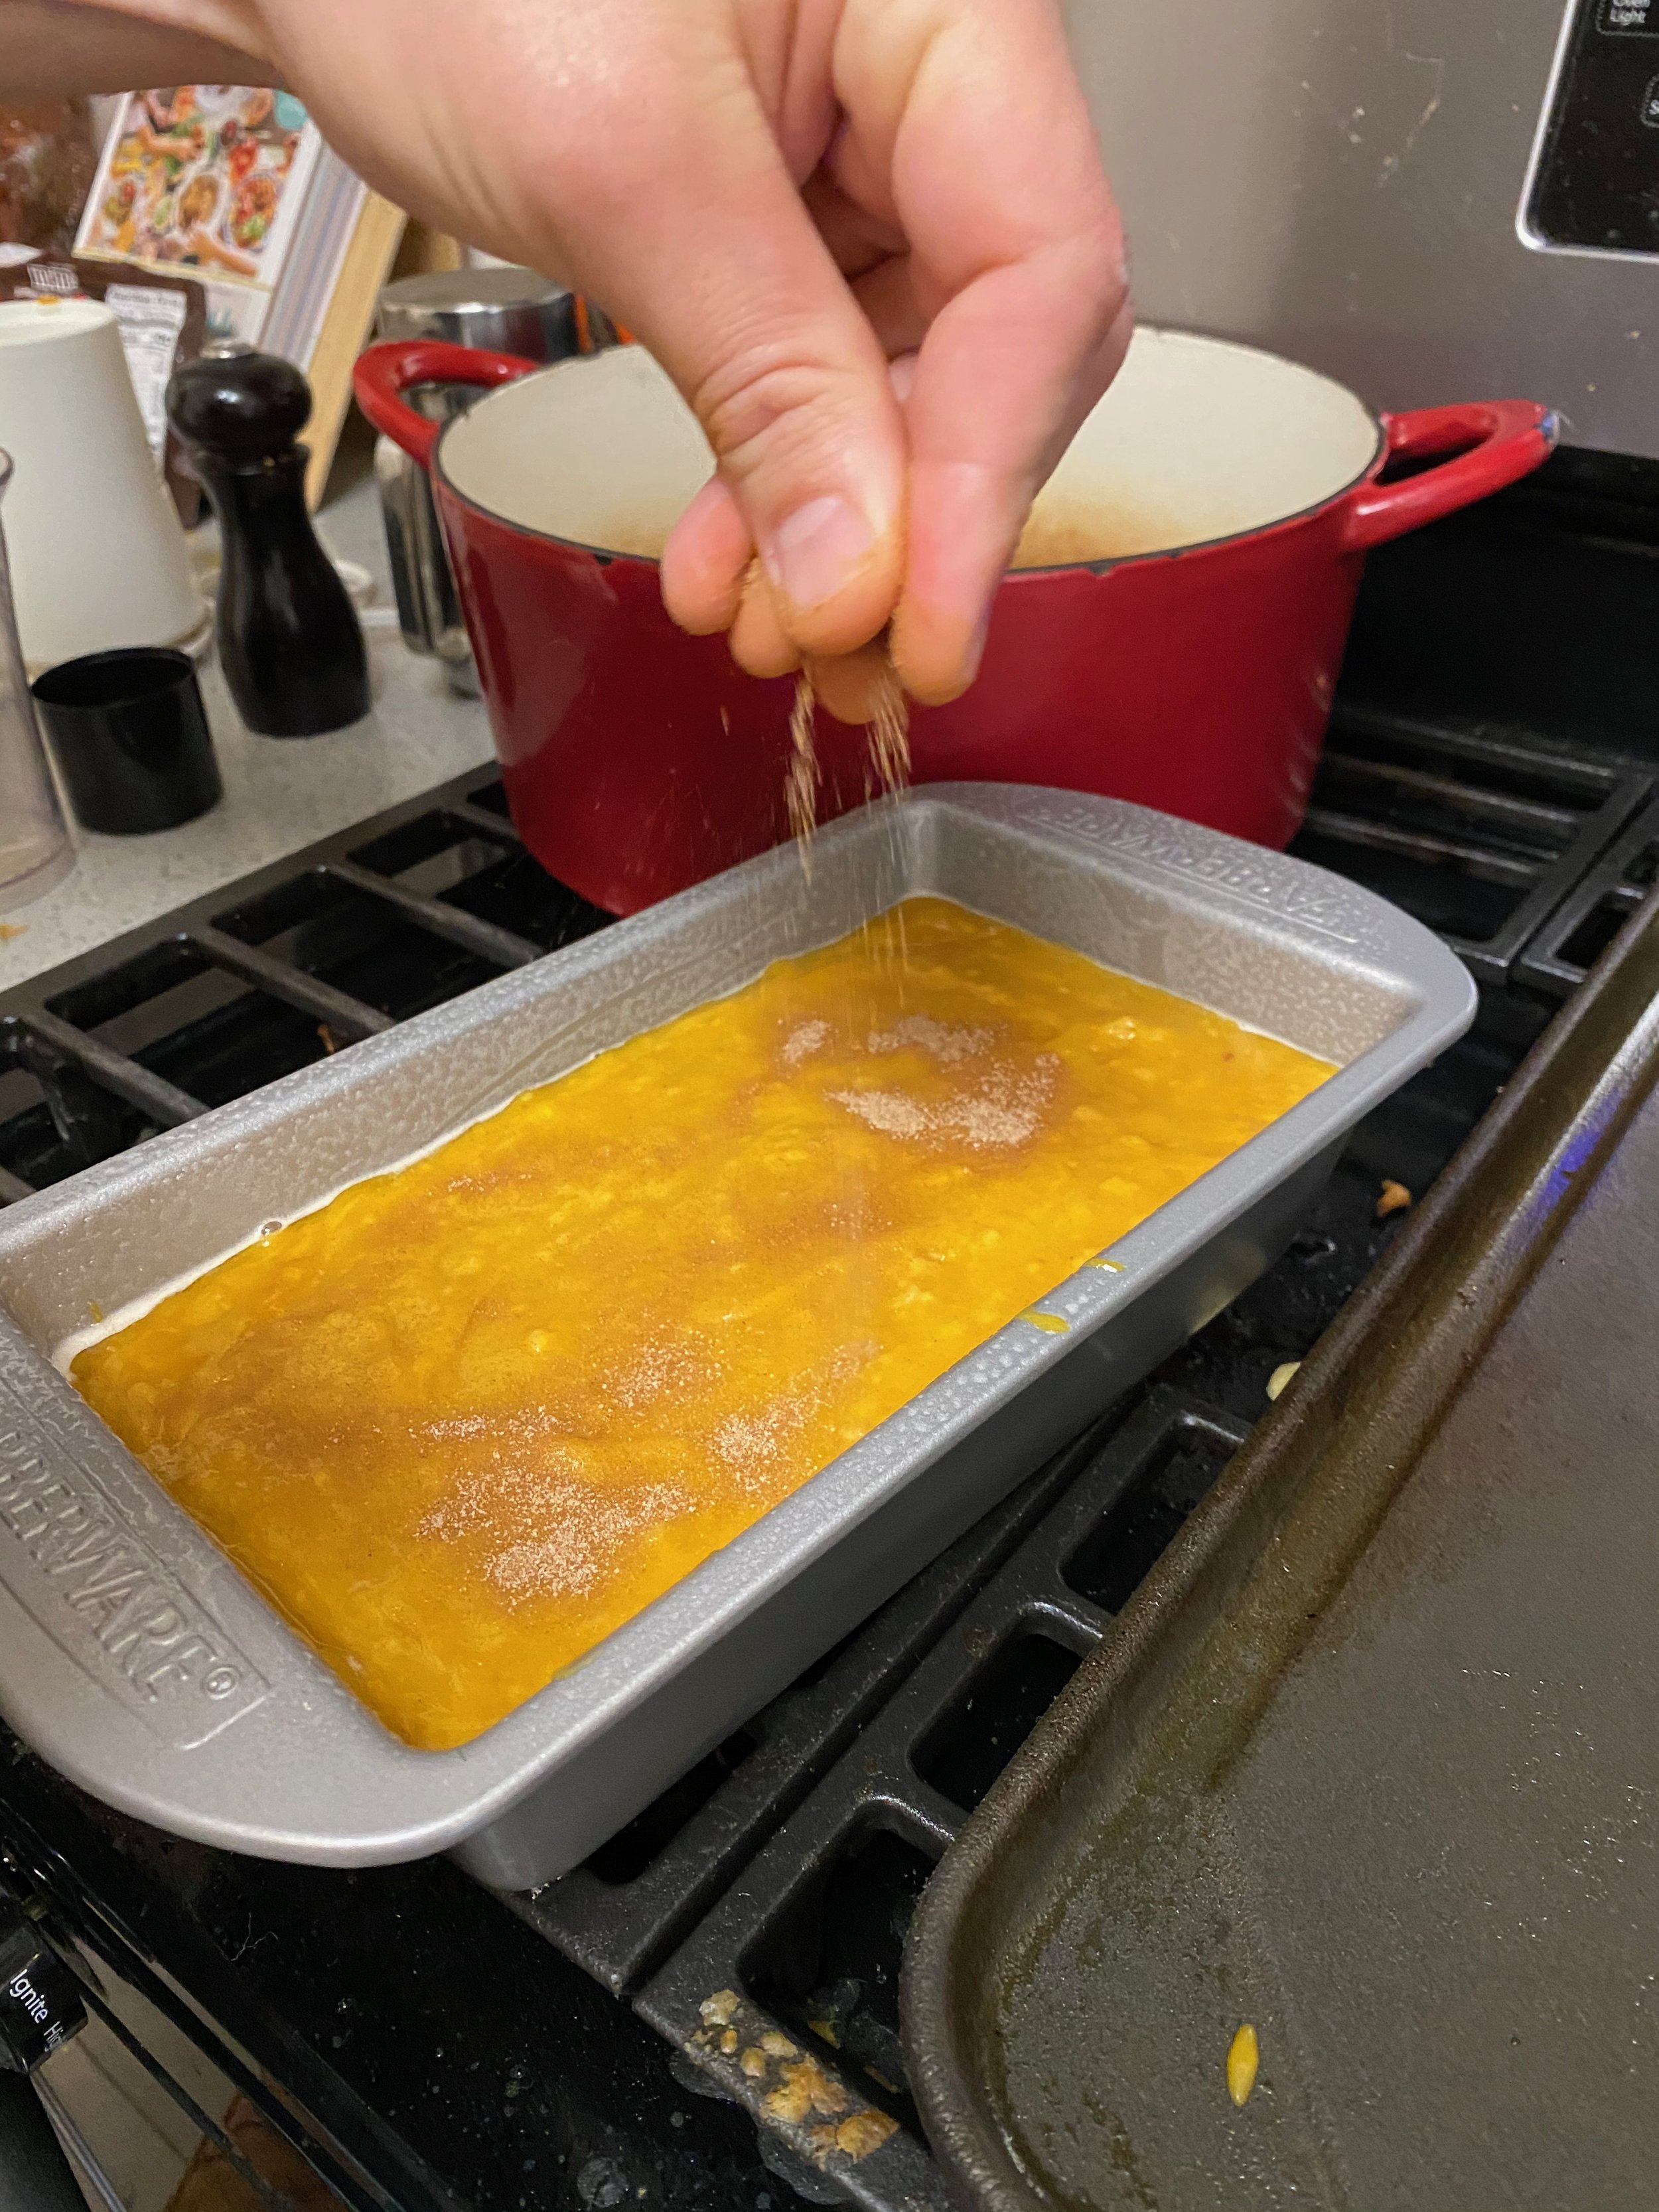
Pumpkin bread, putting on spices. Image: Kelly Knight

NOTES (from Deb of Smitten Kitchen)
This is a towering, craggy pumpkin bread with a crisp cinnamon sugar lid that is impossible not to pick off in deeply satisfying bark-like flecks. Trust me, someone in my family notnamingnames did exactly that this morning, and I almost cannot blame them.

Very key here is the size of your loaf pan because this will fill out every speck of it before it is done. Mine holds 6 liquid cups; it’s 8×4 inches on the bottom and 9×5 inches on the top. If yours is even slightly smaller or you’re nervous, go ahead and scoop out a little to make a muffin or two. You won’t regret that either. This also uses an excess of cinnamon sugar on top — it’s always too much and I cannot stop because I love the way it spills off when I slice it and then you can slide your slices through the extra. If this is going to bother you, however, go ahead and use half.

You can also make this as muffins. It should make about 18 standard ones and you can distribute the cinnamon sugar (perhaps make 1 1/2 tablespoons sugar and 1 1/2 teaspoons of cinnamon worth) across the tops before you bake them. They should bake for 25 to 30 minutes.

I’ve also made this with mashed sweet potatoes and other squashes with success (but if it’s more wet and thus the batter ends up more loose, be caaaaareful as it could throw this towering loaf into a spilling-over situation). And I’ve done it with half whole-wheat flour.

Finally, I know someone is going to say “that’s way too much sugar!” but please keep in mind this loaf is gigantic, easily 1.5x a normal one and the sugar is scaled accordingly. You can decrease it if you wish but we have made this now several times and many people have commented about how in-check the sugar level tastes, not over the top at all.

DIRECTIONS
Heat oven to 350 degrees F. Butter a 6-cup loaf pan or coat it with nonstick spray.

In a large bowl, whisk together pumpkin, oil, eggs and sugar until smooth. Sprinkle baking powder, baking soda, salt, cinanmon, nutmeg, ginger and cloves over batter and whisk until well-combined. Add flour and stir with a spoon, just until mixed. Scrape into prepared pan and smooth the top. In a small dish, or empty measuring cup, stir sugar and cinnamon together. Sprinkle over top of batter.

Bake bread for 65 to 75 minutes until a tester poked into all parts of cake (both the top and center will want to hide pockets of uncooked batter) come out batter-free, turning the cake once during the baking time for even coloring.

You can cool it in the pan for 10 minutes and then remove it, or cool it completely in there. The latter provides the advantage of letting more of the loose cinnamon sugar on top adhere before being knocked off.

Cake keeps at room temperature as long as you can hide it. I like to keep mine in the tin with a piece of foil or plastic just over the cut end and the top exposed to best keep the lid crisp as long as possible.

So good! Image: Kelly Knight