The Good Table At Home: Fallow Season

by Kelly Knight, Marketing Manager for The Good Table

The disappointing dirt

Spiritual Touchstone

It’s raining! It’s so exciting! After months of it being dry, with some very light sprinkling that was a cruel tease, we actually have rain. And an “atmospheric river” on the way! As I watched the first storm roll in from my home in the hills, I cleared out the last of the dead stuff in my garden: the tangled husks of sweet pea vines, the spent amaranth, the one last cucumber on its spindly stalk.

To be honest, my garden looks kind of dreadful now. There’s a lot of just… dirt. I seem to fall in love with flowers that have a glorious dance with the sun in summer, and then fall back to nothing in the fall. Honestly, I was a little disappointed at how dang bare everything was looking.

My partner reminded me this week that everything has a fallow season, and something about that stuck with me this week. Fallow is soil that is “plowed and harrowed but left unsown for a period in order to restore its fertility as part of a crop rotation or to avoid surplus production.” (Oxford Languages)

Leaving soil fallow allows it to rest, to regenerate, to restore fertility. My garden, after a long summer and drought, just needs some time off. And it’s in my best interest to give it that.

To be honest, I really love fall and winter because of their focus on gathering and rest. We can’t be producing all the time, it’s true, even though capitalism would like us to. Just like the soil, we all need time to rest, to nestle in, and just be for awhile. This should come as no surprise to anyone really, because it’s kind of a seasonal thing, but how easily I forget. I read things like this very blog post every year, and think to myself, “Yes! This will be the year I cut back! I will spend the winter actually wintering, rather than running around, doing a million things.” But I usually don’t keep that promise.

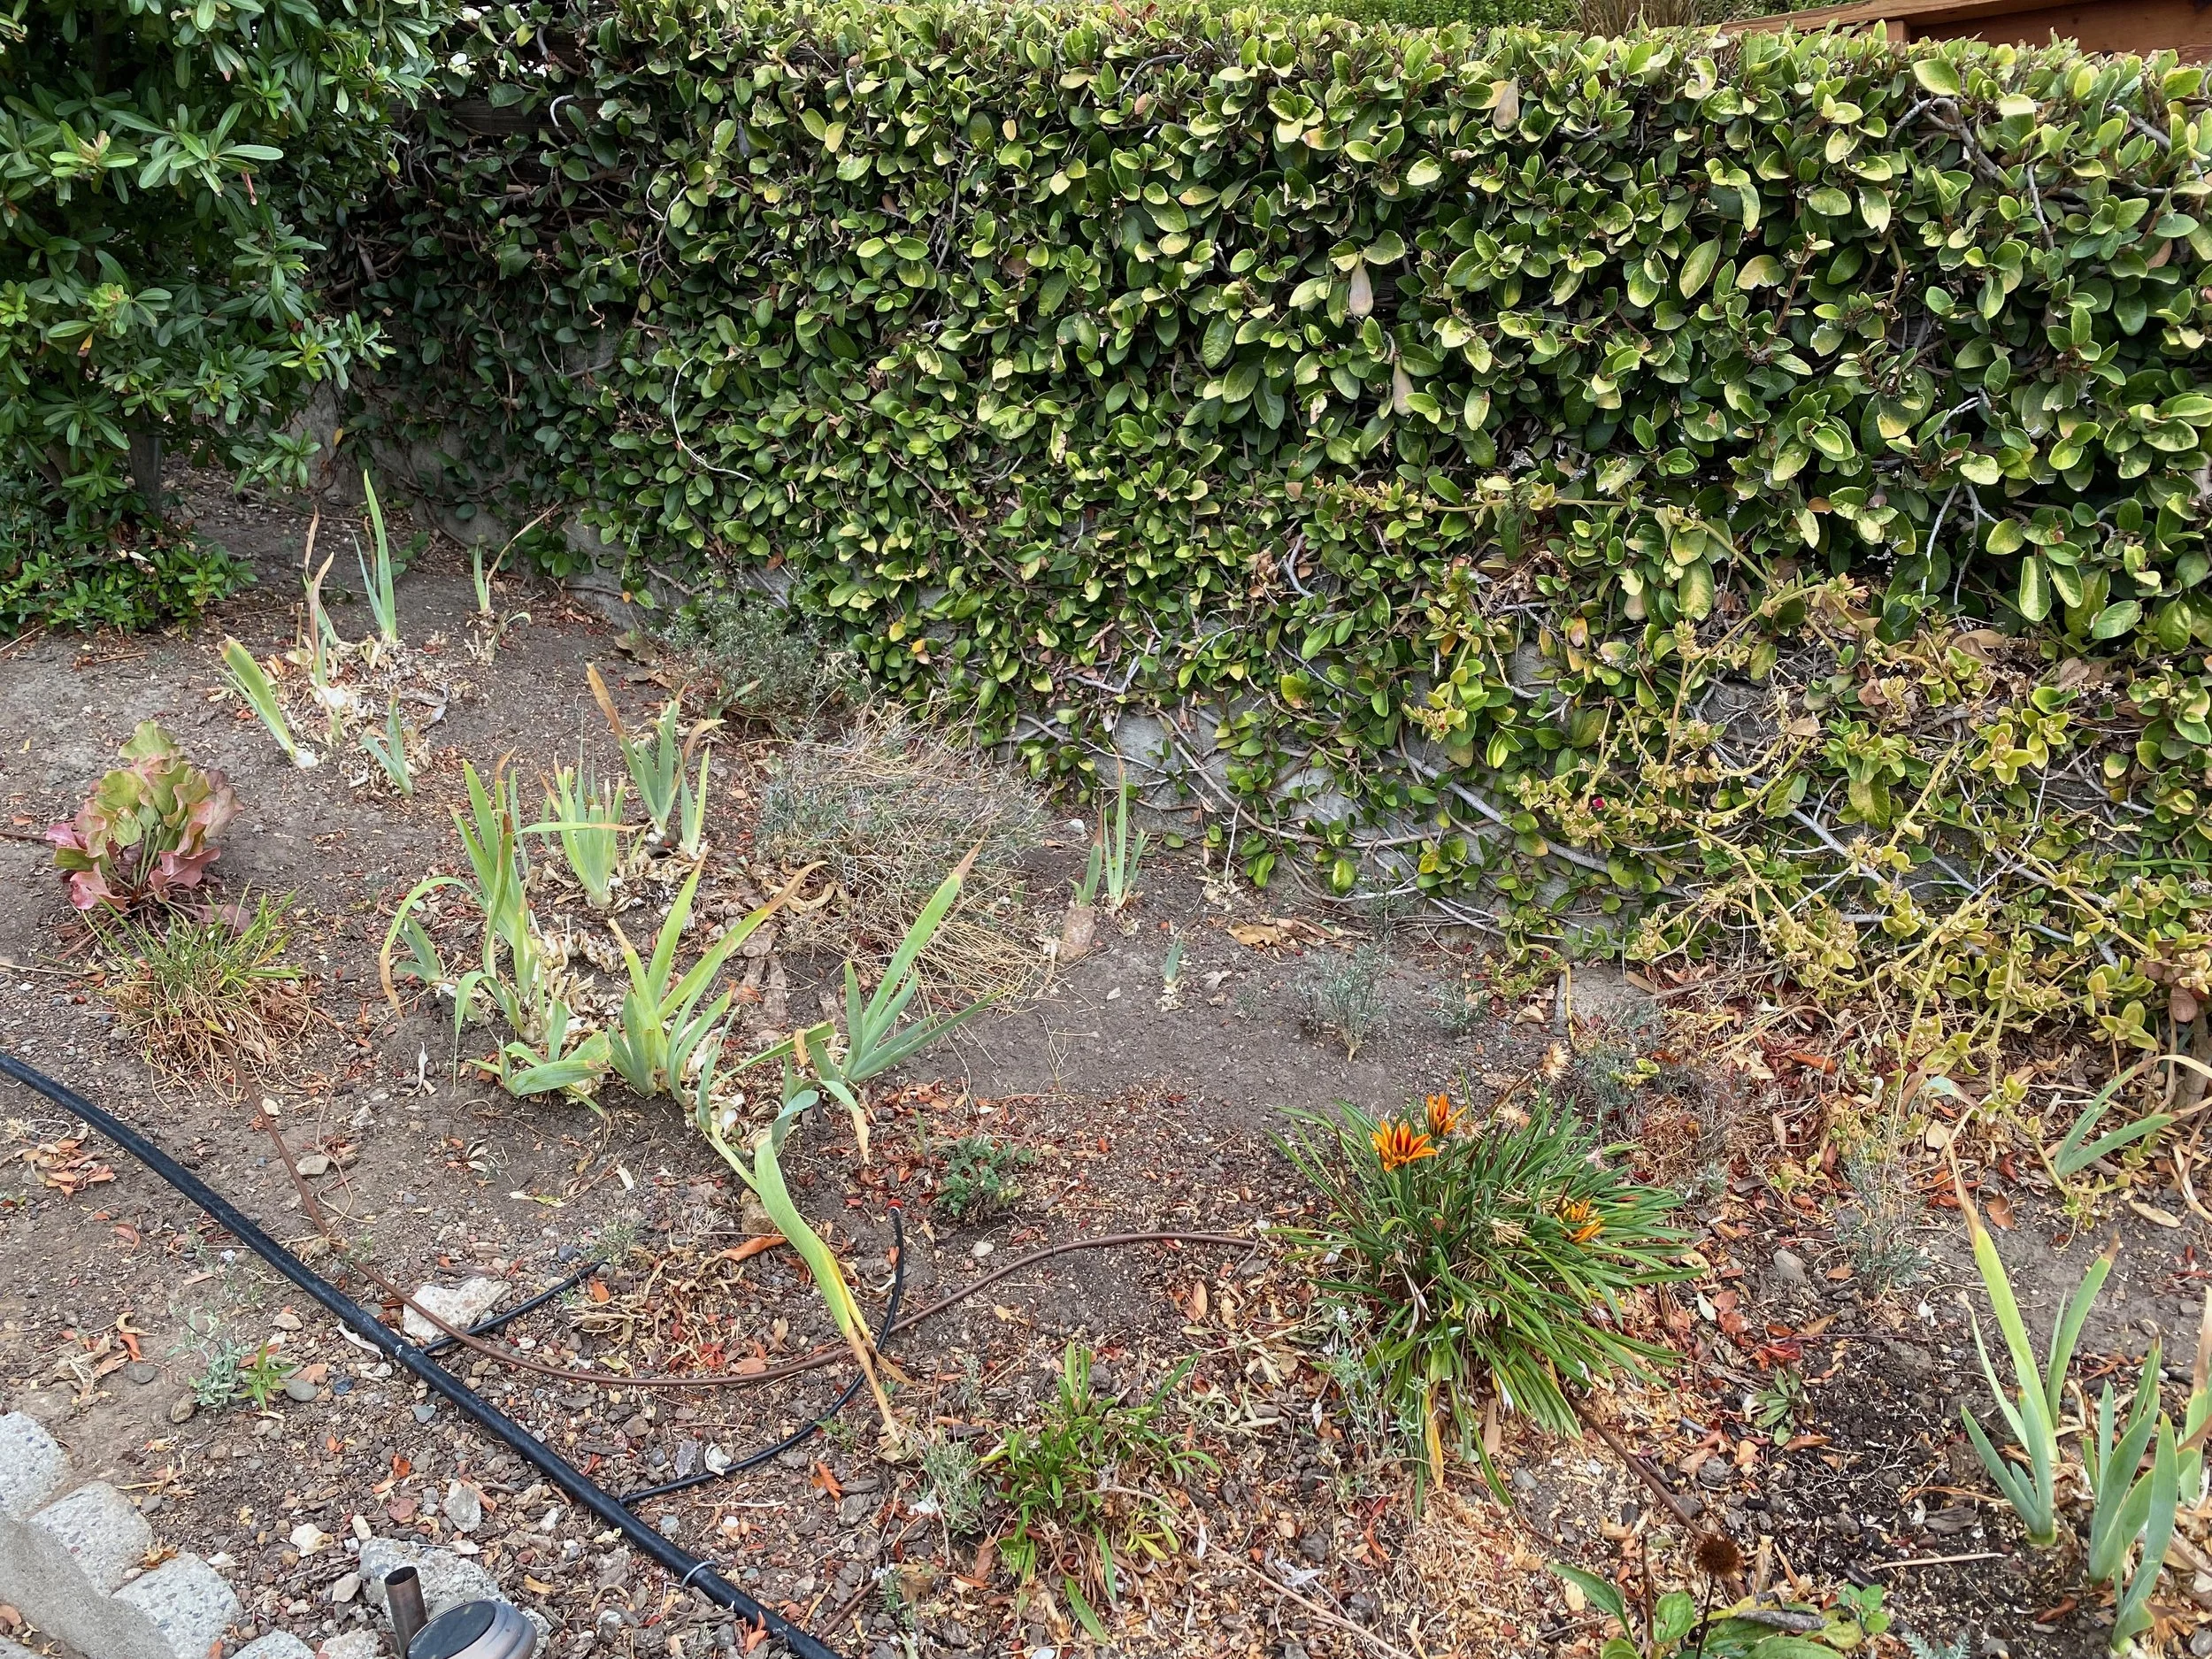
And more dirt, with some bedraggled irises

This year, I am really going to try. I’m going to let my garden remind me that I need time and space to replenish me too. It’s certainly a privilege to be able to take some space, and if you can’t, I’m sorry. We need to work towards more sustainable systems so that everyone can stop hustling when they need to. To the extent that it’s available, I wish you peace and rest whenever you find yourself in a fallow season.

May we all have peace.
May we all have rest.
May we all have ease.

Melinda McLain
The Good Table At Home: Slow-Cooker Whole Squash with Spelt & Feta

From the Kitchen

When the weather starts to chill, I reach for my slow cooker. Something about the fragrance of food cooking all day just feels like comfort to me.

I decided to research some new slow cooker recipes, and came across this one from Food52. The author’s notes state, “When it comes to methods of cooking this type of tough, thick-skinned produce, a slow-cooker may not be your first thought; in fact, the machine is an ingenious way to cook a whole squash. Plus, it’s almost entirely hands-off. Pop any big, round winter squash (kuri, kabocha, acorn, etc.) into the slow cooker and hit start. Meanwhile, the rest of the dish—components of which can be prepared in advance—is quite simple. Boil grains, toast nuts, whisk together dressing. Say hello to your new favorite cold-weather side dish.”

How great is that! Easy, healthy, and wholesome. If you don’t like, or can’t find spelt, farro is a good substitution here.

Photo by Julia Gartland. Prop Stylist: Brooke Deonarine. Food Stylist: Kate Buckens.

Photo by Julia Gartland. Prop Stylist: Brooke Deonarine. Food Stylist: Kate Buckens.

Slow-Cooker Whole Squash with Spelt & Feta
Recipe by Food52

INGREDIENTS
3 to 4 pounds red kuri, kabocha, or acorn squash (about 1 to 2 squash)
5 tablespoons olive oil, divided
Kosher salt
1/2 cup hazelnuts or pecans
3/4 cup spelt
3 tablespoons apple cider vinegar
1 tablespoon maple syrup
2 teaspoons white miso
Freshly ground black pepper
1 cup mixed tender herbs like parsley, cilantro, dill, and chives, chopped, divided
3 ounces feta cheese, crumbled or cut into planks
1 teaspoon Aleppo pepper or 1/2 teaspoon crushed red pepper flakes (optional)

DIRECTIONS
Give the squash a good scrub to get rid of any debris stuck to the skin.

  1. Place the squash in your slow cooker (you may need to cut off the stem or turn the squash on its side to fit) and cook on high for 3 to 4 hours or on low for 5 to 6 hours, or until a cake tester or paring knife stuck into the squash slides in easily. Remove squash to a cutting board.

  2. Meanwhile, preheat the oven to 325°F. Toss nuts with 1 tablespoon olive oil and a big pinch of salt on a sheet pan and toast until deeply golden, tossing occasionally, until golden and toasty-smelling, 8 to 15 minutes. Transfer to a plate to cool. When cool, use a small bowl to gently crush the nuts.

  3. Bring a medium saucepan of well-salted water to a boil over medium high heat. Rinse spelt and boil until al dente, 20 to 50 minutes depending on the type of grain you purchased. Most packages will include directions for how to simmer grains to absorb a specific amount of water; cooking grains like pasta ensures they’ll have a bit of bite to them instead of turning out mushy. There’s no specific science to this, simply test a grain every 10 minutes after they cook for 20. Like dry beans, each variety and brand of grain will cook for a different length of time. Drain grains well and set aside.

  4. In a medium bowl, whisk together apple cider vinegar, maple syrup, and miso, then slowly stream in 1/4 cup olive oil. Season with salt and pepper to taste. Pour off 2 tablespoons of dressing into a small bowl and set aside. Mix spelt into dressing, then stir in the chopped herbs and half the nuts. Taste and season with more salt and pepper if needed. Set aside.

  5. Cut squash into 4 or 6 wedges (carefully if it’s still hot to the touch) and remove pulp and seeds if desired. Transfer to a serving platter and season with salt and pepper. Drizzle remaining dressing over the squash, then spoon dressed grains over. Top with remaining nuts, feta, and pepper flakes if using.

The Good Table At Home: Getting your Garden Ready for Fall & Winter

by Kelly Knight, Marketing Manager for The Good Table

In the Garden

In Northern California, we don’t really have super defined seasons. We have basically:
Rain if we’re lucky
Rain and fog
More fog, and hopefully some rain
A couple nice weeks in April
Fog
A couple nice weeks in June
Festive Fourth of July Fog (fireworks look like balls of colored light)
Armpit August
Fire Season
More Fire Season
Really tired of Fire Season
It rains again, finally, and it’s Christmas

I’m not complaining. I really love the fog and our funky little micro-climates. But I do miss the more defined seasons in the east, where a lived for a bit.

Here are some recommendations from Fine Gardening on what we can be doing to prepare the garden going into fall and winter, from Fionuala Campion, the owner and manager of Cottage Gardens of Petaluma in Petaluma, California:

  • Divide and transplant perennials. With milder temperatures minimizing transplant shock and ensuring a quicker recovery, it’s the ideal time to divide overgrown spring- and summer-blooming perennials. Prune back by half to reduce moisture loss through transpiration and carefully dig around the plant, leaving as large a root ball as possible. Gently lift the clump and check for obvious separation points, dividing it into several smaller ones. Discard older, weaker, or unhealthy parts of the plant, and replant the newly divided plants directly into the garden (or pots if you plan on sharing). Of course, you’ll have prepared the area beforehand by amending with organic compost and adding a handful of organic high-phosphorous fertilizer to help your new plants quickly become established. Water thoroughly and directly after planting.

  • Add winter and spring interest now. Continue to source and plant spring-blooming bulbs and fall- and winter-blooming annuals to brighten up your borders and containers all winter long.

  • Plant cool-season crops. Many vegetable crops thrive in cooler temperatures and some–like the brassicas–increase in sweetness when touched by frost. To get them off to an excellent start, plant transplants of your favorite broccoli, cauliflower, Brussel sprouts, and kohlrabi varieties. They’ll be ready for the dinner plate by February. Transplants of leafy greens are even quicker to mature. You’ll start harvesting Swiss chard, spinach, mustards, and kales by December. Continue direct seeding peas, parsnips, turnips, carrots, radishes and beets. For more veggies to grow now and growing tips, read on here.

  • Make sure to tidy up for winter. October means it’s time to reduce potential overwintering hiding places for slugs, snails, and insects by picking up overturned pots, dropped branches, and other garden debris in the ornamental and veggie garden. Continue to rake fallen leaves and pull weeds and spent annuals and vegetable plants. Add them all to the compost pile or your green waste bin if you suspect disease issues. Dig in rich, organic compost to any empty ornamental or edible garden beds.

Image Courtesy Fionuala Campion

Image Courtesy Fionuala Campion

The Good Table At Home: Our Collective Dry Spell

by Kelly Knight, Marketing Manager for The Good Table

Image Credit: Jason Hickey

Image Credit: Jason Hickey

Spiritual Touchstone

As the drought in the west continues, it’s hard not to feel a lot like the land: dry, cracked, discouraged.  The wildfires make it all worse: less trees, less shade, less ground cover.  It’s all just feeling very parched out there, and internally too, as the pandemic goes on and on.

After the call went out to conserve water, I started researching dry farming as a way to understand how to keep my garden going and what I might need to do to strengthen it against more frequent droughts.

Dry farming is “a low-input, place-based approach to producing crops within the constraints of your climate. As we define it, a dry-farmed crop is irrigated once or not at all.”

Basically, you let the rain do the work, and don’t water through the rest of the season.  How do you do that?  “Dry farmers try to select a site with deep soil and good water-holding characteristics and then utilize a suite of practices to conserve soil moisture for crop growth. Some of the practices that support dry farming include: early soil prep and planting; selecting drought tolerant, resistant or early-maturing cultivars; lower planting density; cultivation or surface protection to prevent crusting and cracking of soil surface; diligent weed control; and improving soil health and water-holding capacity with practices such as cover cropping, rotation, and minimizing soil disturbance.”

This week, I yanked out the last of my tomato and cucumber plants that were pretty much done, and soon will be planting my cover crops for the vegetable beds.  As I wrestled with the overgrown tomato vines, I was thinking about how we can sow our own resilience to better make it through the lean times.

Just like dry farmers put in a lot of work so their crops can survive the dry, hot season, we can prepare our minds, hearts, and souls to get through our difficult seasons as well. 

We can yank out the weeds: the old stories, the not-great habits, and the old coping mechanisms that no longer serve us.  We can sow cover crops that help us retain moisture in the fertile soil of our hearts: creativity, meditation, friendships, community, and service to causes we care about.  We can cultivate the garden of ourselves to be tolerant, resilient, and able to not only survive, but thrive in this season of our lives.

And if we can’t do that, we can ask for help.  What needs pruning or weeding in your life?  Where do you need help cultivating?  What are you going to sow this week?

The Good Table At Home: Italian Tomato Pie

by Rev. Melinda McLain

From the Kitchen

When our gardens are wild with tomatoes, we’re always on the hunt for new recipes. This recipe for an Italian Tomato Pie was inspired by the seasonal menu for "all things tomatoes" that Pastor Melinda used to enjoy at Kerbey Lane, a restaurant in Austin, Texas.

33581_439389142850_2693354_n.jpg

INGREDIENTS
9” pie crust, store-bought or made with your favorite recipe
4 medium heirloom tomatoes
1/4 cup tapioca flour
1 tsp Italian herb mix (oregano, thyme, rosemary, etc.)
1/2 tsp salt
1/4 tsp pepper
1 cup chopped Swiss chard
1/2 cup cheese (cheddar, mozzarella, or Gruyere would all be good)
1/2 cup breadcrumbs
1/2 cup grated Parmesan or Romano cheese

DIRECTIONS

  1. Preheat the over to 450 degrees.

  2. Peel and slice about 4 medium heirloom tomatoes and place in a bowl. Add 1/4 cup tapioca flour (to thicken juice), Italian herbs, salt, and pepper and mix gently.

  3. Press pie crust into pan (use pre-made, or your own recipe). Layer chard first on the bottom (note: this is important to avoid a soggy bottom), then tomato mixture, then some grated cheese, then chard, then tomatoes until pie crust is nearly full.

  4. Top with bread crumbs mixed with fresh Parmesan or Romano cheese. Put in 450 degree oven for 10 minutes, reduce temp to 375 and bake for 45 minutes or until crust is brown and filling is bubbly. Cool and serve. Even better cold the next day! Enjoy!

The Good Table At Home: Site Update + Fire Safety

In Our Community

 
Rev. Melinda and Colleen Rodger wrote blessings on the beams before they were placed.

Rev. Melinda and Colleen Rodger wrote blessings on the beams before they were placed.


The Beams are in the Building!

Please join us this Saturday, August 28 between 12 and 3p for our monthly Community Work + Fun Day at 5166 Sobrante Avenue. Construction is in full swing, but we still have gardening and cleanup projects aplenty for willing volunteers. Please wear sturdy shoes, clothing, and a mask for added community safety. If you have work gloves and favorite gardening tools, bring those too. Or feel free to stop by to see just what’s happening, even if you don’t have time to help.

 
Colleen and Teja on the beams

Colleen and Teja on the beams


Is Your Yard Ready for Wildfire Season?

Here is some really helpful and timely information about how to prepare your landscape for wildfire from the 94803 Preparedness Alliance.

Marilyn Saarni, a great local Master Gardener, provides us with a quick guide about what plants are most dangerous in terms of fire safety:

"Within the combined Defensible Zones 0 and 1—0-30 feet of structures—remove all highly flammable plantsjuniper, thuja, pine trees, arborvitae, Italian cypress, incense cedar—conifers in general, rosemary, bamboo, broom, brambles (especially blackberry), large bunch grasses (Miscanthus), pampas grass, palm trees, aromatic herbs gone woody, chamise, acacias, eucalyptus, Algerian ivy with undergrowth (in wildfire country you have to cut to the ground 1-2 times a year to reduce woody content and remove flammable debris hiding under leaves—or get rid of it). Better yet, remove all of these from your garden! But if you have questions, ask your local UC Master Gardener Help Desk: ccmg@ucanr.edu

CalFire Defensible Space

CalFire Defensible Space

"Along any driveways or potential evacuation paths, make sure you would have clear passage—best to have low, non-flammable plants along these paths, and nothing overhead that could be a risk in the embers that blow mile(s) in front of a wildfire. If you need to clear large shrubs in these areas, firefighters recommend 10 feet of low flammability plantings and clear sight lines (for them as well as for you if you have to evacuate suddenly).

"In these same two zones (Zone 0 and 1) be sure to trim off dead debris, any branches within 10 feet of roofline, and then rake and sweep all dead plant debris and remove. Inspect vines, and remove dead buildup if any. Cut back perennials that have dead blooms (for a lot of these you may get another bloom or two before rains come). And don’t forget to clean your gutters—before you do your sweeping! Peak wildfire season is now.”

Here are some great resources for planting fire-resistant plants in your garden:
Fire-Resistant Landscaping
Oakland Fire Safe Council on Landscaping During the Drought

Melinda McLain
Introducing Our 100% Campaign

In Our Community

Exciting news if you haven’t already heard: Construction is moving ahead on the site!

Plumbing in progress at the site

Plumbing in progress at the site

But sadly, our estimated costs for the renovation are much higher than our 2019 estimates. As many of you have experienced for yourselves, materials costs have skyrocketed due to the pandemic - in many cases by 100% or more – raising our estimated total cost for renovation from $1.5 million to at least $1.9 million.

With anticipated financing support from the Cornerstone Fund of the United Church of Christ and the unbelievable support of many skilled volunteers working on the site to reduce costs, we feel confident that we can stay on schedule for opening in early 2022, but we will need some immediate help to close our funding gap.

Introducing our 100% Campaign

Because of supply chain issues during the global pandemic, our costs are 100% more.

But we 100% want to make this pay-as-you-can community cafe, organic plant nursery, and gathering space open in 2022.

So we’re asking if you’ll commit to making a tax-deductible $100 donation per month for 5 months, until we open. Will you join us?

And, if you work for a company that matches charitable donations, we hope you’ll apply for a matching donation. We have now earned 501(c) 3 tax-exempt status for The Good Table LLC; all donations are tax-deductible.

Checking out the new roof!

Checking out the new roof!

Our plans for creating a pay-what-you-can and pay-it-forward community cafe, gathering space, and organic tree and plant nursery on the Adachi site will have a long-lasting, positive impact on El Sobrante and surrounding communities. So whether you are longing for a beautiful place to have a delicious cappuccino, take a yoga class, attend a workshop, buy organic fruit trees, or listen to or make live music, The Good Table Cafe and Planting Justice Nursery will provide a local venue where we can create a more resilient and vibrant community.

Melinda McLain
The Good Table At Home: The Easiest Fridge Dill Pickles

by Kelly Knight, Marketing Manager for The Good Table

 
Homemade dill pickles (yellow because they’re a Boothby’s Blonde cucumber)

Homemade dill pickles (yellow because they’re a Boothby’s Blonde cucumber)


From the Kitchen / In the Garden

One of my favorite summer hacks, if you will, is to grow vegetables I can enjoy later. This year, I have pickling cucumbers, but they grow sporadically, with not enough yield to do a big canning project. I was a little grumpy about it, but then I found this phenomenal recipe from Smitten Kitchen, and now I’m back to pickle bliss.

The best thing about this recipe is how ridiculously simple it is: slice cucumbers, put them in a jar with some vinegar, sugar, and pickling stuff, put in the fridge and wait for the magic to happen. My family inhales these. If your family likes pickles, they will too.

Easiest Fridge Dill Pickles
Recipe from Smitten Kitchen

INGREDIENTS
8 larger or to 10 smaller firm, fresh Kirby (pickling) cucumbers
3 teaspoons kosher, coarse or pickling salt (if using a featherweight brand such as Diamond, use a little more)
1 to 2 tablespoons chopped fresh dill
1/2 cup white vinegar

DIRECTIONS
Slice your cucumbers very thin — I used 1/8-inch slices here but usually go even thinner on a mandoline. Place them in a 1-liter or equivalent lidded jar. Add 3 teaspoons salt and dill, then pour in white vinegar. Close the jar and give it a few shakes to begin distributing the ingredients.

You’re going to find the liquid level in the jar worrisomely low as it is well below the pickle pile line, but don’t fret. Within an hour or two, the salt will draw the moisture from the cucumbers and wilt them, while the liquid becomes a perfectly balanced pickle brine.

Place jar in the refrigerator near the front, which should remind you to shake it once or twice more over the new few hours. (Or whenever you’re back at the fridge.) You can eat them as little as 1 to 2 hours later, but they become ideal at 6 to 8 hours. They’ll keep in the fridge, submerged in their brine, for 3 weeks, though never around here.

Melinda McLain
The Good Table At Home: Reduce Your Water Usage

by Kelly Knight, Marketing Manager for The Good Table

In Our Community

Image: StateOfIsrael

It’s the worst drought we’ve seen for years here in California and in the west overall, and I’ve been thinking about how to reduce my personal water usage. Granted, the individual can only do so much, but together, we can make a collective difference.

Surprisingly, some of the methods to reduce water use are a little counter-intuitive, but let’s start with the ones that are obvious:

  • Shorter showers. Turn off the water when shaving, time yourself (I like to play music, and when I know two medium songs are done, so is my shower), use 2-in-1 products to cut down shampooing time.

  • Reduce landscaping water. Use drip irrigation instead of sprinklers, plant drought-resistant plants, reduce or get rid of your lawn.

  • More efficient laundry. Only doing laundry with a full load, and using high-efficiency washing machines if you can.

  • Better dishwashing. Most dishwashers these days are high-efficiency, and even if they’re not, they use water MUCH more efficiently than handwashing dishes. Reduce or eliminate hand-washing.

Now for things you might not expect:

Together we can make change and help turn things around, making California and the west a more sustainable place to live. The only way we’ll get through the upcoming crises is together.

The Good Table At Home: Summer Refreshers

by Kelly Knight, Marketing Manager for The Good Table

In the Kitchen

While the Bay Area has actually been a little chilly lately, we know it will get hot again sometime. And when it does, the best thing, in my not-humble opinion, is to drink something that cuts the heat and gives you back some much needed energy.

Here are two summer refresher recipes to keep cool and stay hydrated!

 
Peach Nectar Iced Tea

Peach Nectar Iced Tea


Peach Nectar Iced Tea
by Heidi Swanson, of 101 Cookbooks

INGREDIENTS
4 cups cold water
4 bags black tea
4 cups peach nectar (Note: You can buy this at the grocery store in the juice section. It’s sweeter than straight peach juice. Looza is my favorite brand.)
Plenty of ice cubes
2 peaches, peeled, pitted, and sliced into eighths
Mint sprigs for garnish

DIRECTIONS
Bring the water to a boil in a saucepan. Remove from heat, add the teabags, cover, and steep for 5 minutes. Remove the tea bags and let the tea cool to room temperature on the counter. Stir in the peach nectar and feel free to add more if you want it even peachier. Serve in ice filled glasses garnished with a couple peach slices and the mint if desired.


Shiso Limeade

Shiso Limeade


Shiso Limeade
from Laura McLively and The Berkeley Bowl Cookbook

What’s really fun about this is that the acidity of the lime juice turns the shiso tea into a shocking pink color. I really enjoy it. You can find fresh shiso at Asian markets and finer grocery stores.

INGREDIENTS
1 cup packed Chinese shiso leaves, plus a few for garnish
2 liters boiling water
2 tablespoons agave nectar (or more to taste)
1/2 cup freshly squeezed lime juice
Lime slices for garnish

DIRECTIONS
Place the shiso leaves in a large, heat-resistant jug or jar and pour the boiling water over the leaves. Let the tea steep for 10 to 15 minutes, depending on your desired strength. It’s a subtle flavor — a bit like lemon mint, so you may want to go longer. Stir in the agave nectar and lime juice and watch as the tea magically takes on its bright pink color. Chill before serving. Serve over ice with a lime slice and a shiso leaf.