Fertilizing the Future

by Kelly Knight, Marketing Manager for The Good Table

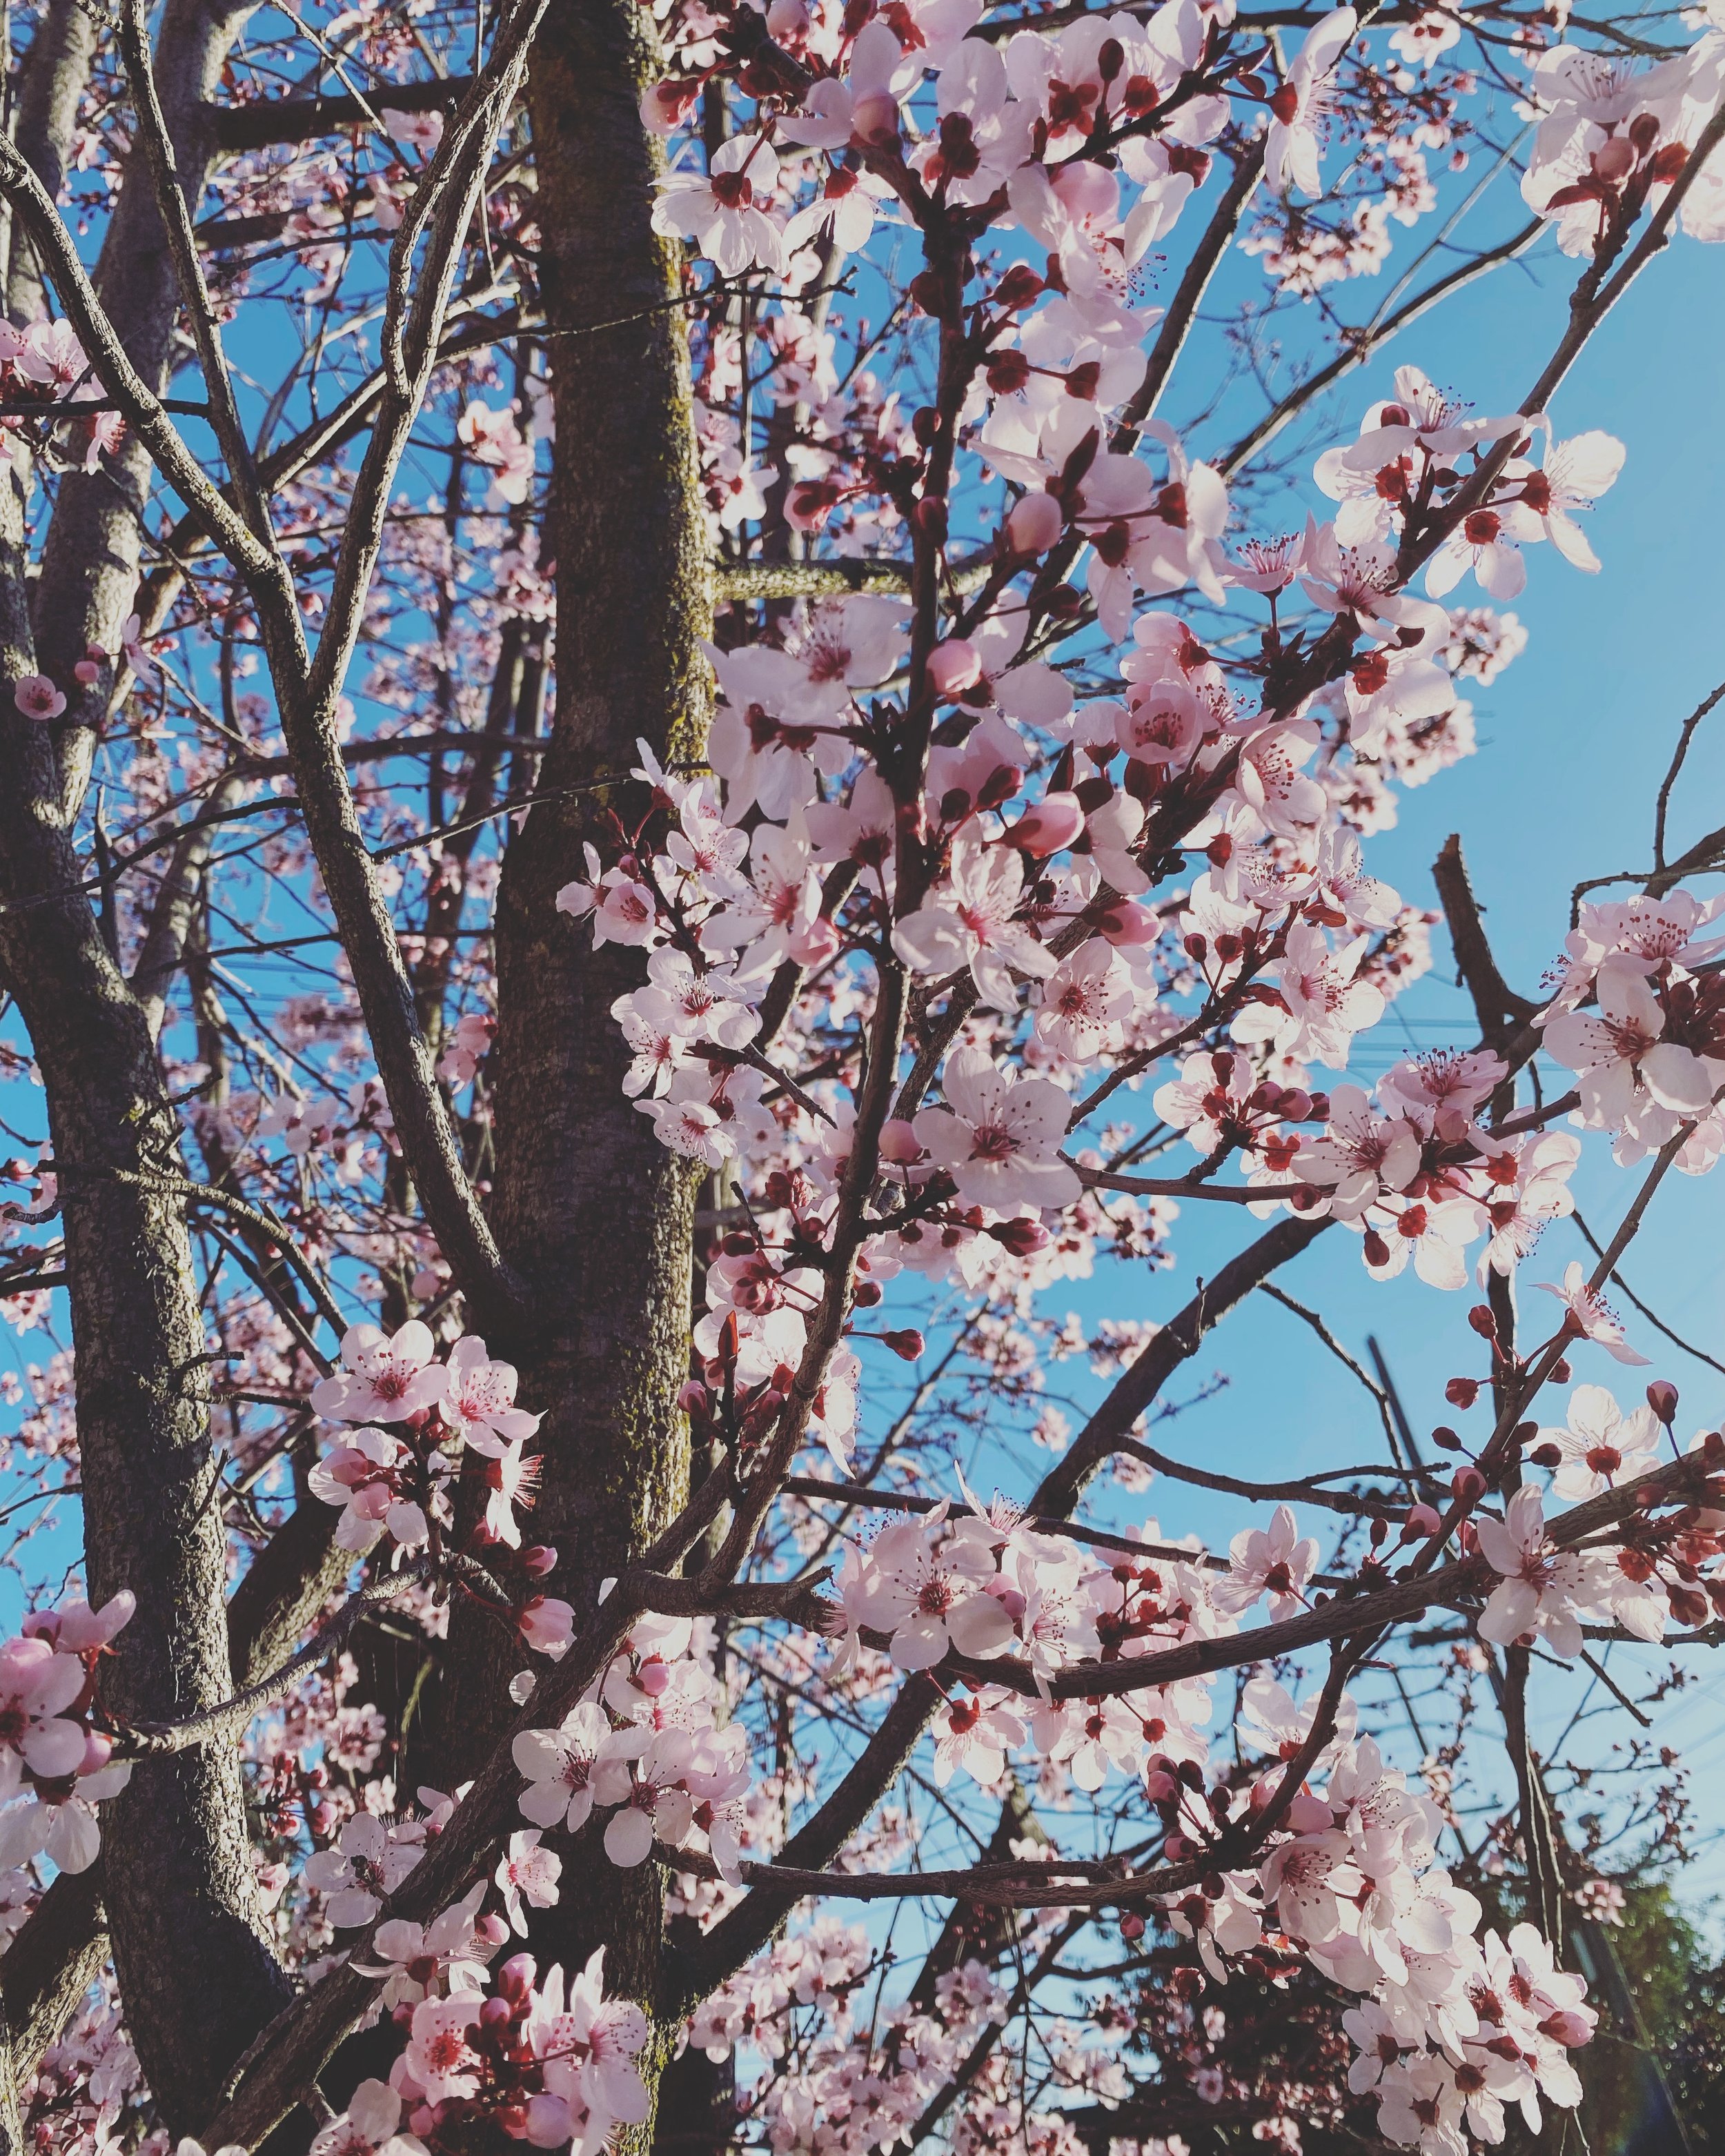
Plum blossom season!

Spiritual Touchstone

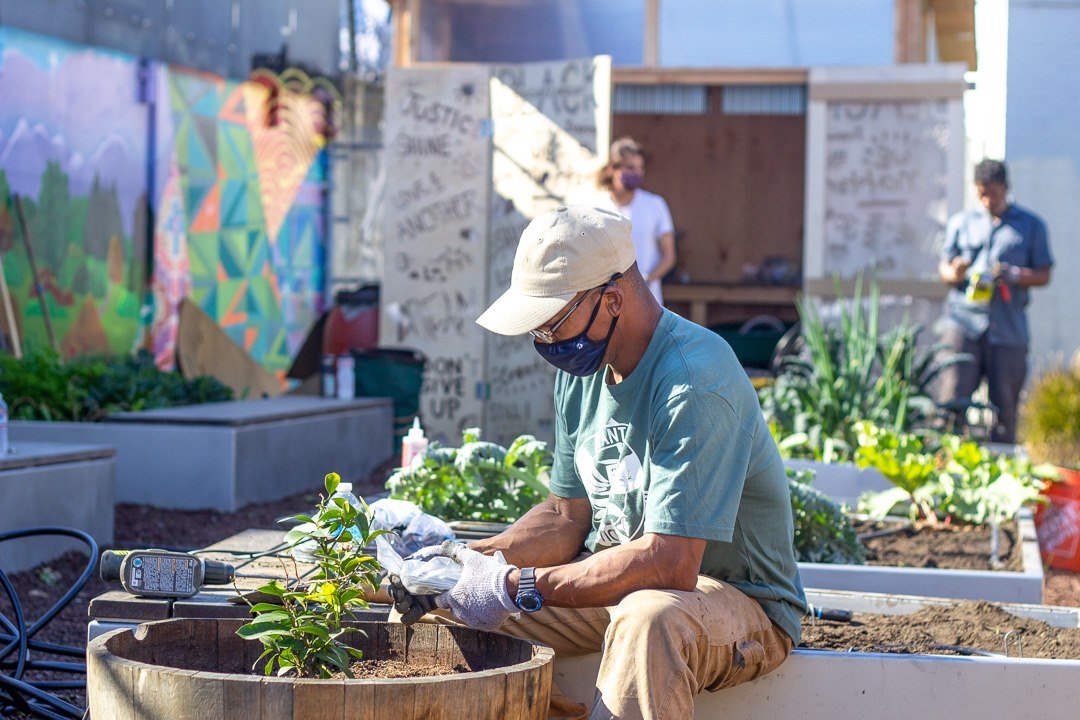
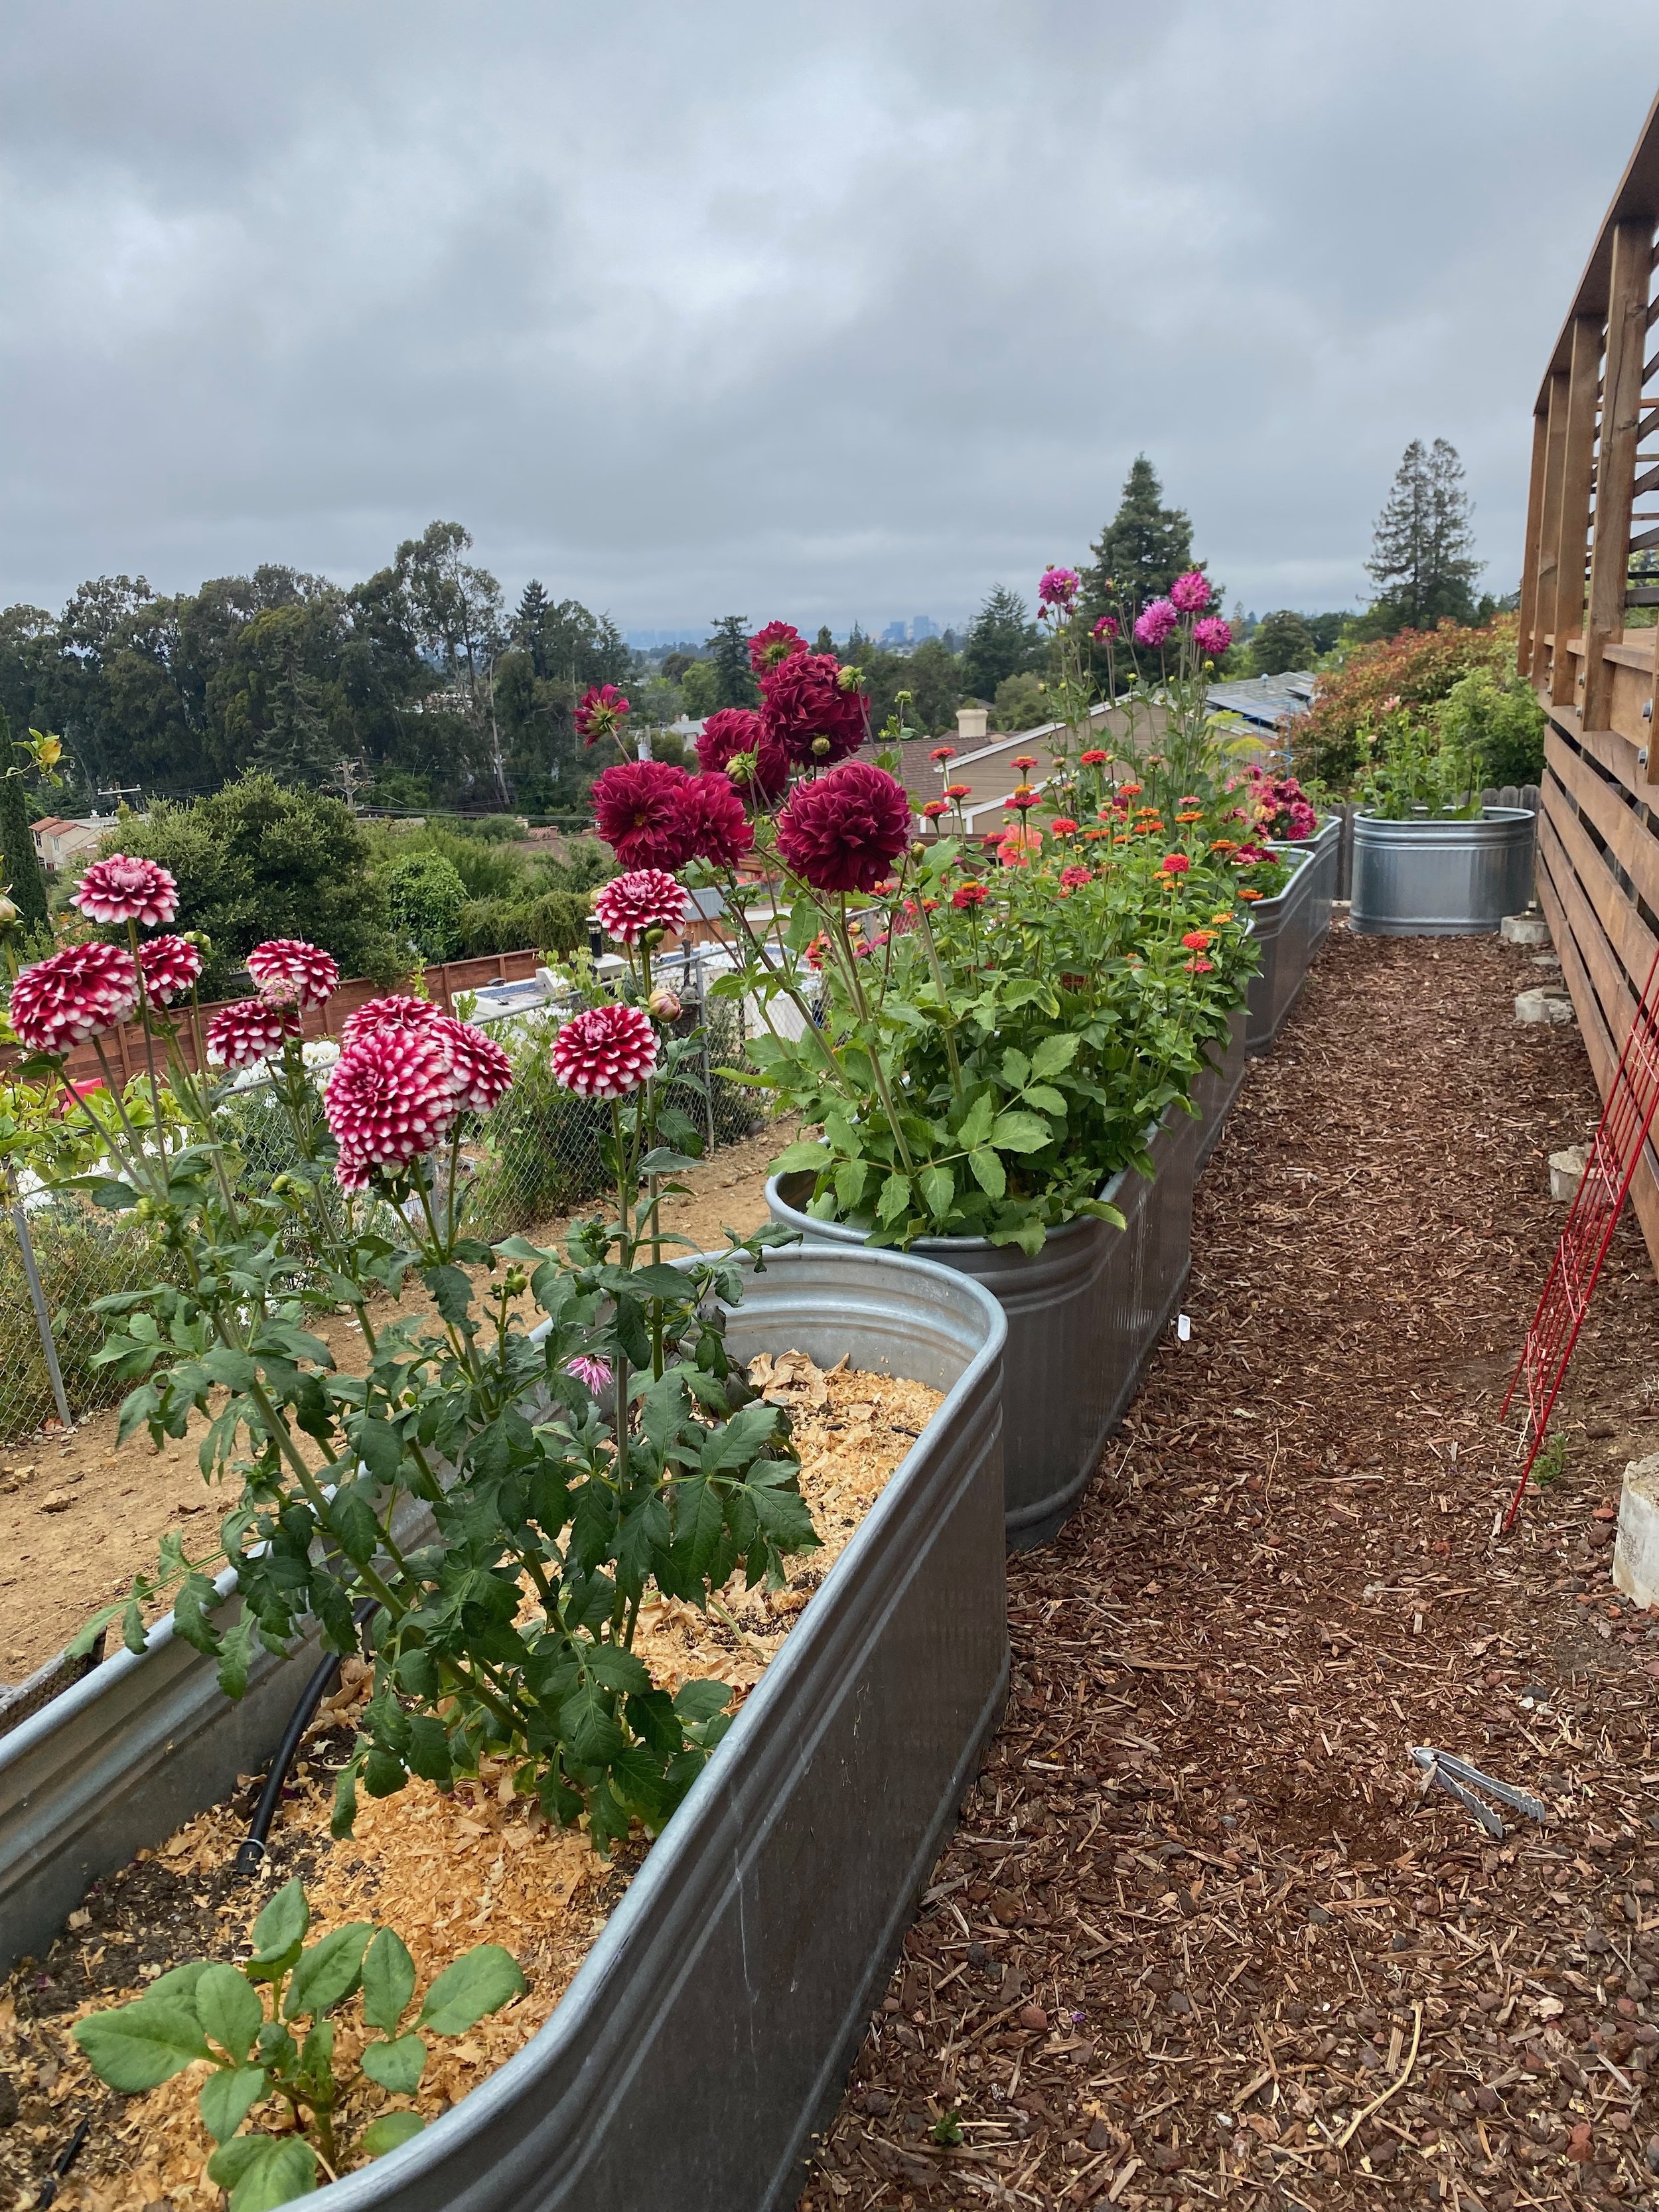
Depending on where you live, it may be the first breath of spring. Where we are, in the East Bay, it’s been in the windy, sunny 70s the last week — nearly summer. (Thanks global warming. Okay not really, rain please?) In any case, it’s a good time of year to fertilize your garden. If you’d like a primer on how to fertilize, here you go: Garden Fertilizer Basics

To be honest, fertilizing intimidates me. I have this weird aversion to it. I wasn’t really sure why; it is, after all, good for the plants, good for the ecosystem. I know I should be fertilizing my own garden, but I can’t seem to drum up any enthusiasm for it, when really all it is is feeding your plants.

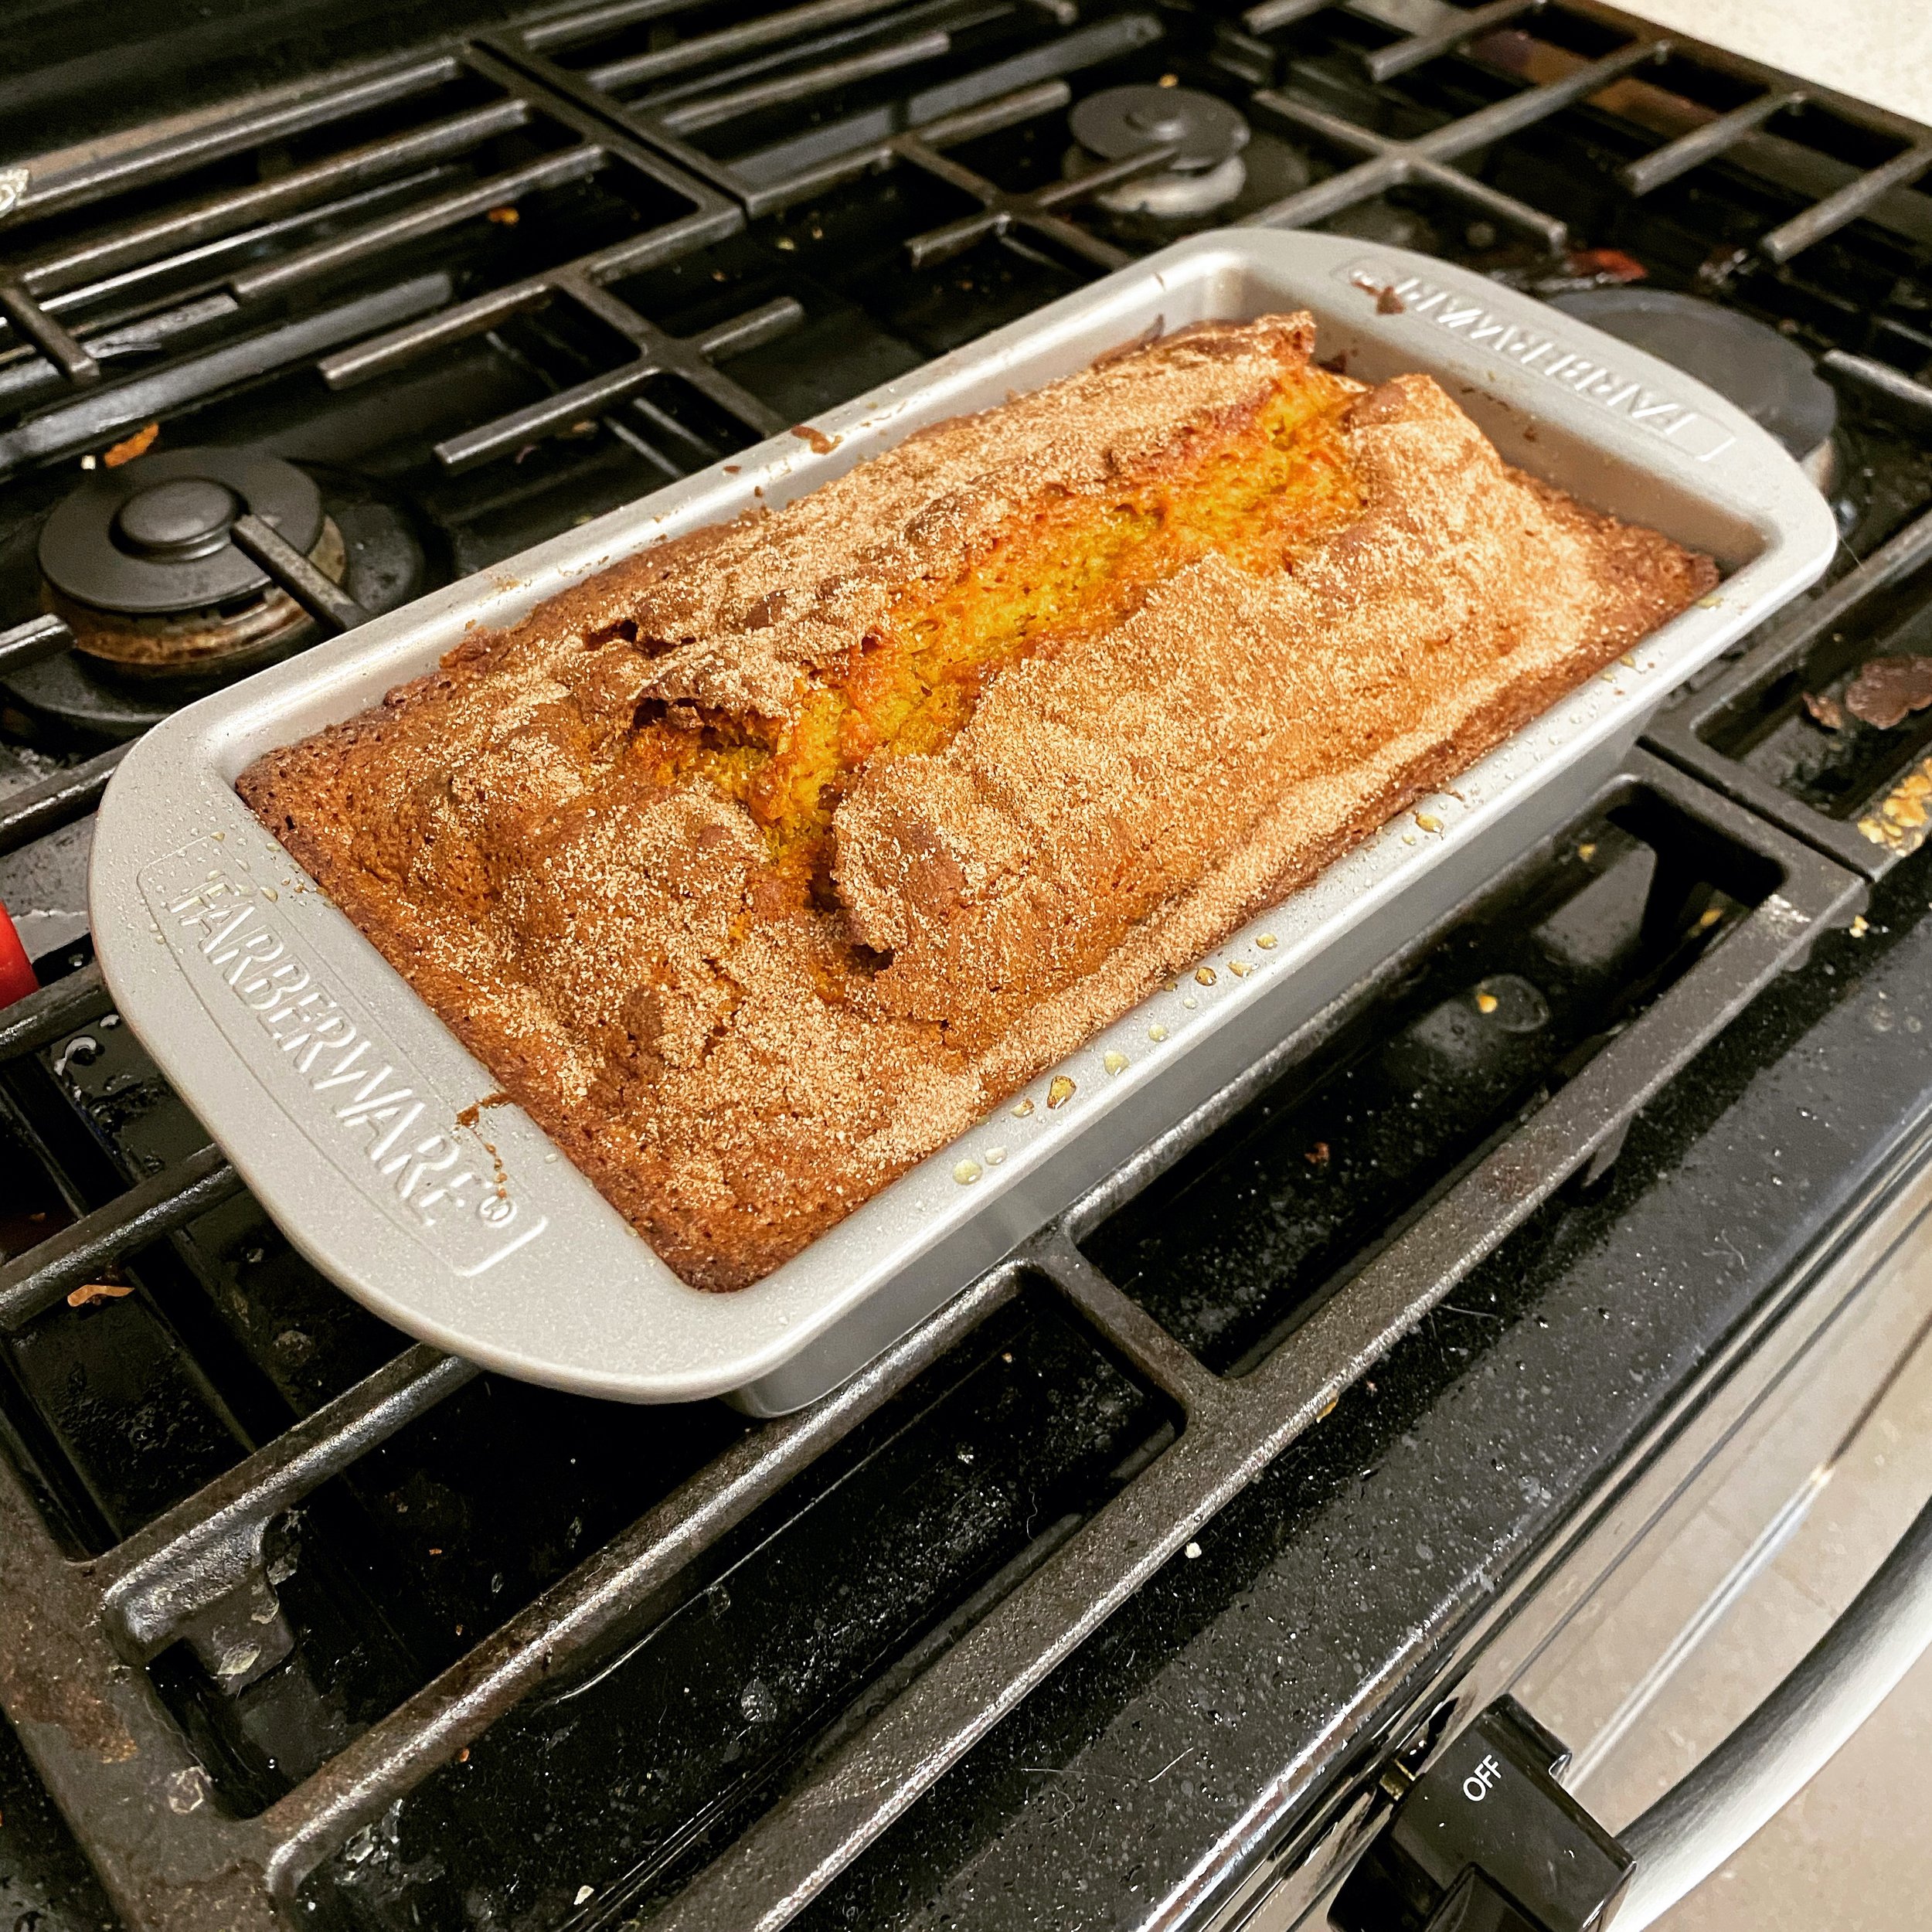
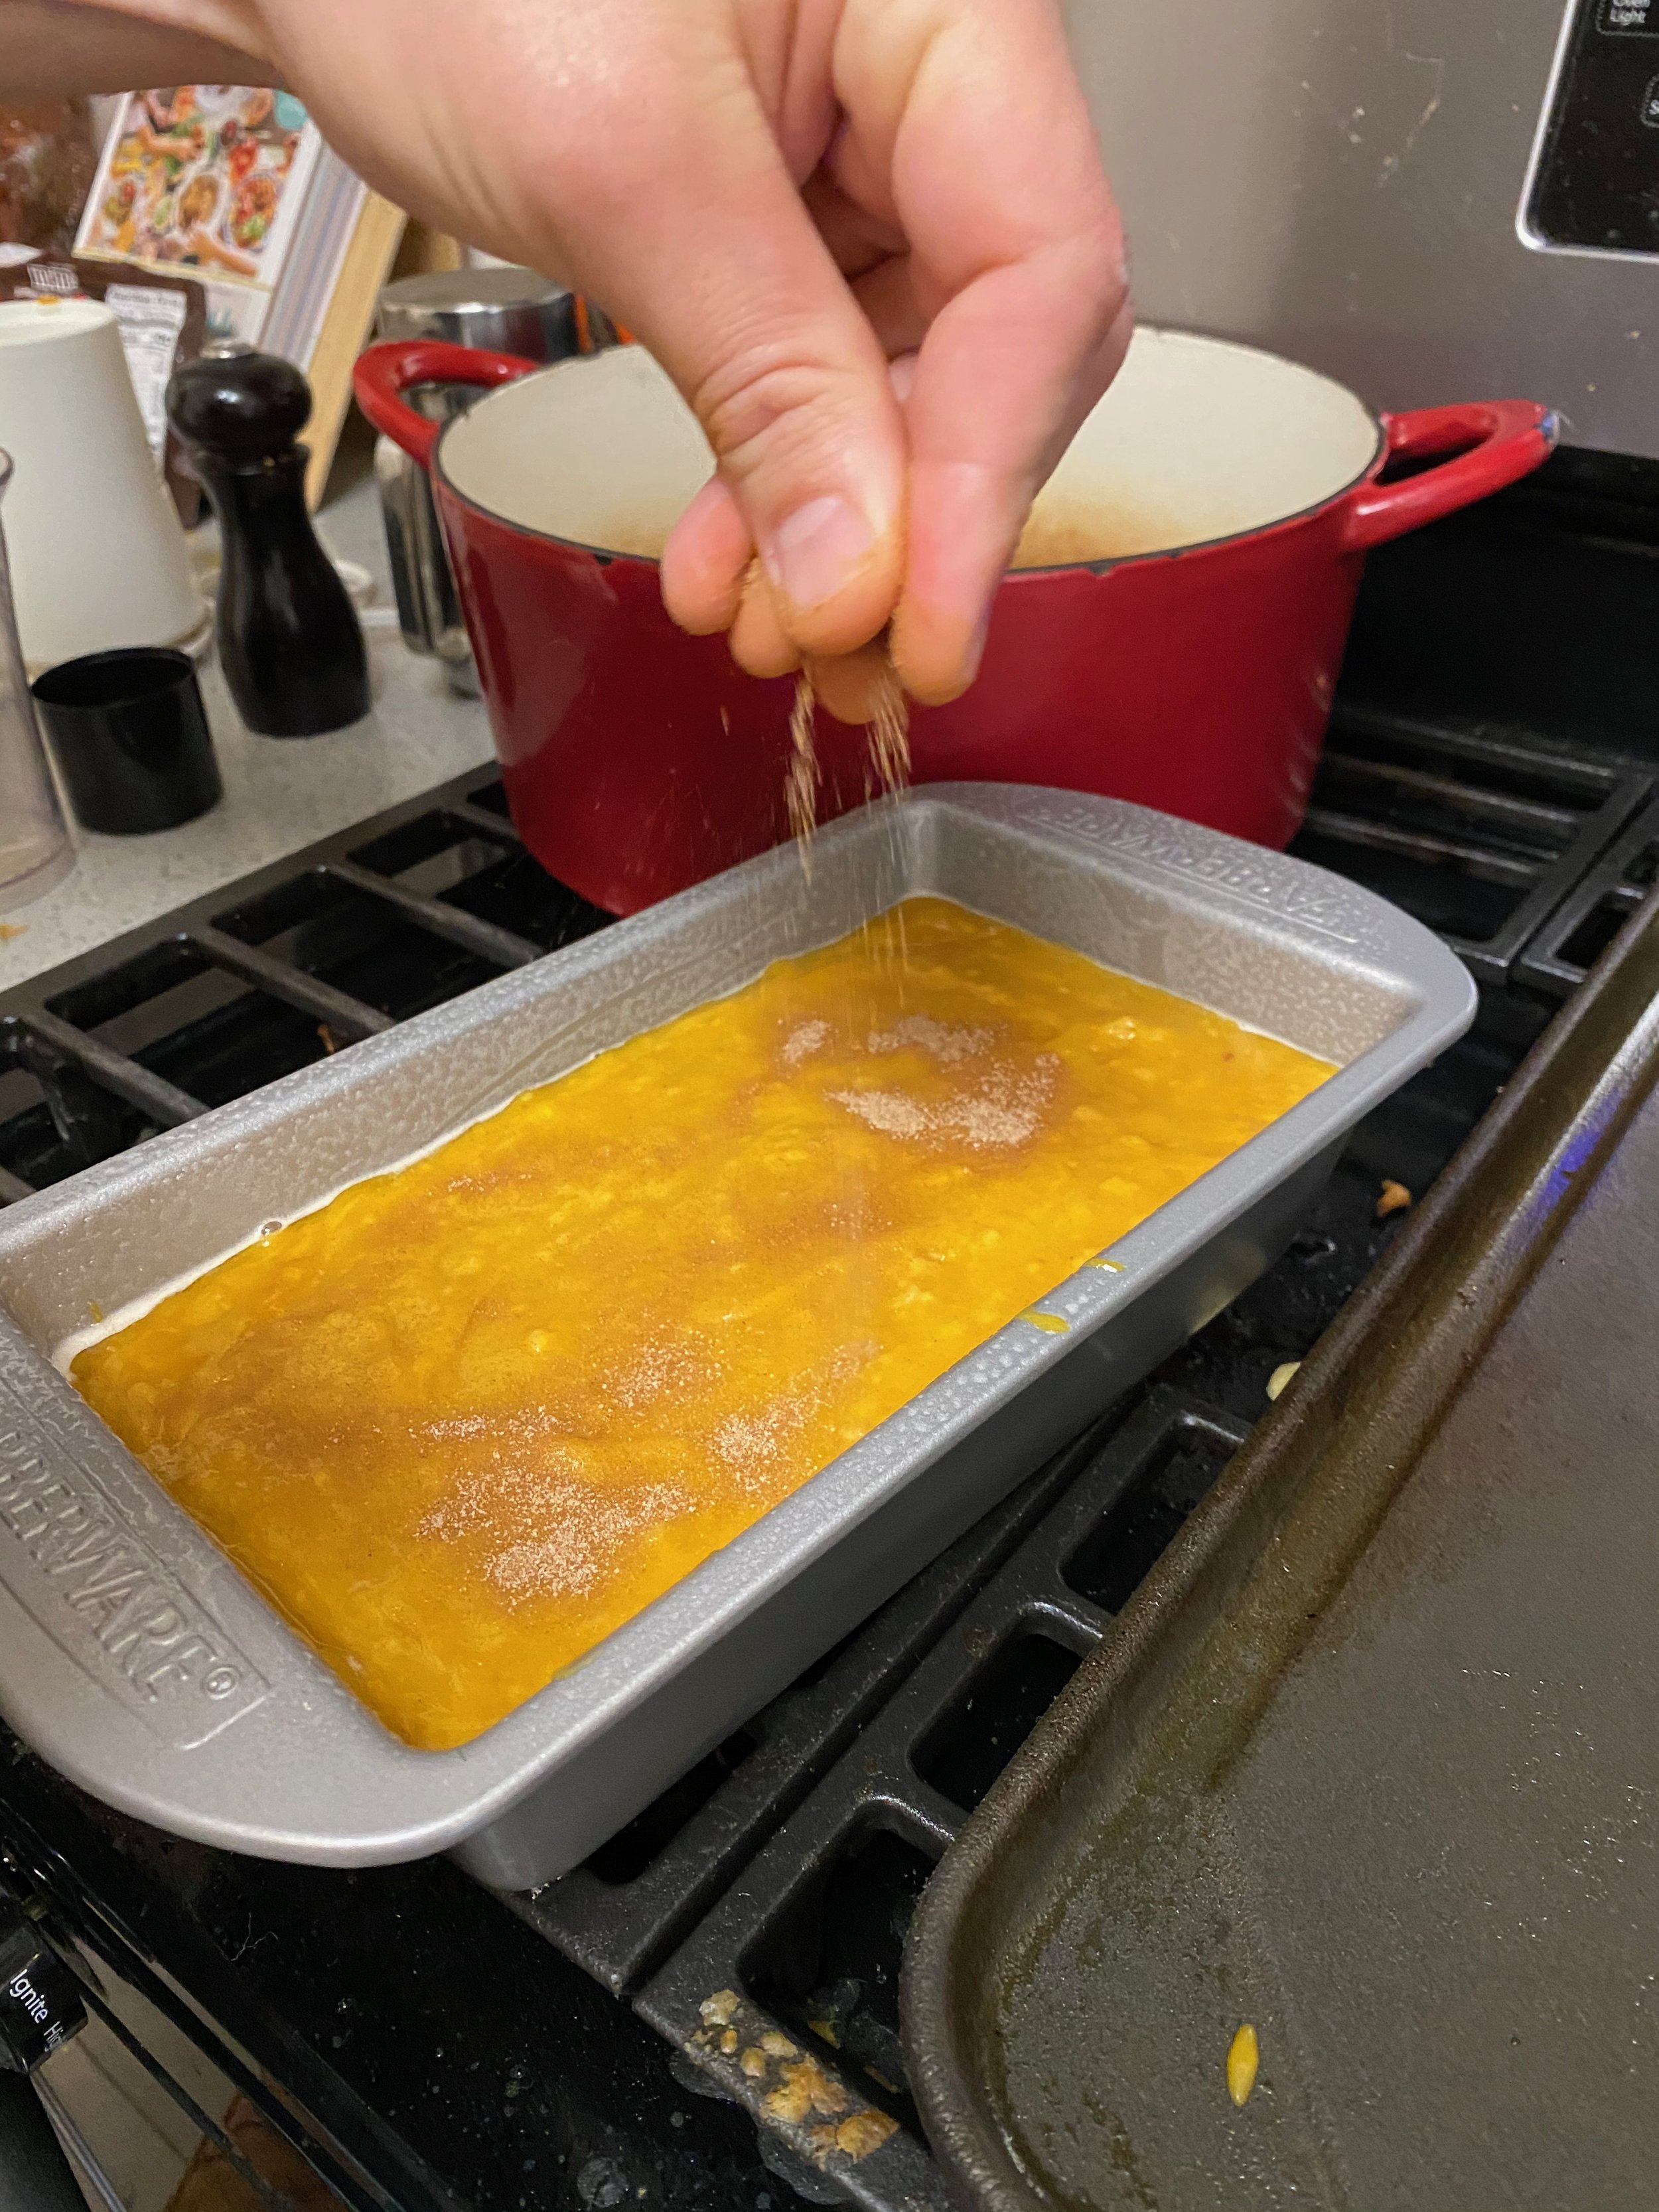
And then I realized: I am terrible at remembering to feed myself, so why should it be any different for my plants?

My life is really busy — I have two kids, work, friends, community. It feels like everyone needs something from me all the time. If the kids aren’t shouting, the cats are. And if everyone’s quiet, a friend is texting or my mom is calling. I love my community, but wow, does it consume my time and resources. As a consequence of that, self care can sometimes (often) go out the window.

The old adage of “Put your own mask on first” comes up a lot for me, but it feels trite when so many other peoples’ needs are greater than mine. My therapist admonished me this week though and reminded me that if I burn out, I’m actually going to be less available, less able to care for those who need it. So the question becomes: what next?

How can we fertilize our own experience so that our future becomes sustainable?

How do we take care of ourselves so that we can continue to sustainably show up for our communities?

For me, that looks like:

  • Saying no a lot more often. I am quick to raise my hand for things, without thinking about the true cost associated with it. I need to carefully tend my own resources with an eye to sustainability.

  • Rest. I often get frustrated when I want to just nap or read or watch something of no substance, but those activities replenish me.

  • Spend my time with folks that uplift me, rather than drain me. Everyone’s going through it and certainly, I want to be helpful to people I care about, but I can’t continue to have folks suck me dry with their unmanaged drama.

What does fertilizing your future look like? How will you tend to your garden of self in 2022?
Rainy Day Biscuits

by Kelly Knight, Marketing Manager for The Good Table

From the Kitchen

I love a biscuit. Flaky, buttery, warm from the oven… there’s nothing better than a fresh biscuit. My partner though is gluten-free, and that makes biscuiting rather tricky. Until I discovered this amazing, one-bowl recipe from Zen Belly! The biscuits are denser than a wheat flour biscuit, but really delightful as a base for eggs benedict, or even just butter and jam. If you’re gluten-free or paleo, I’d recommend giving these a try. I made some today, and it was a lovely treat!

Paleo biscuit with butter and jam

Paleo biscuit with butter and jam

Rainy Day Biscuits
by Simone Miller of Zen Belly

Yield: 6 large biscuits/12 small biscuits

INGREDIENTS
2 1/2 cups almond flour
3/4 cup arrowroot flour
1/2 teaspoon sea salt
1/2 teaspoon baking soda
4 tablespoons cold butter (frozen if possible)
2 tablespoons honey
2 eggs

Ready to go into the oven!

DIRECTIONS

  1. Preheat oven to 350ºF and line a baking sheet with parchment paper.

  2. In a large mixing bowl, whisk to combine the almond flour, arrowroot, salt and baking soda. 

  3. Cut the butter into 4-5 pieces and cut into the dry ingredients with a pastry cutter or 2 knives. You’ll want the result to look like coarse crumbs, no larger than pea sized. (Kelly’s tip: I freeze the butter, then grate it with a box grater. It’s fun and easy, and I get great results.)

  4. In a small bowl, whisk together the honey and eggs.

  5. Gently mix into the dry ingredients, but try not to over mix. You want it just to come together.

  6. Drop the batter onto your prepared sheet with a large spoon. It helps to dampen your hands to shape them a bit- the dough is sticky. 

  7. Bake for about 15 minutes, until golden brown and done in the center.

Yum!

Drip Irrigation

by Kelly Knight, Marketing Manager for The Good Table

Raised planters with drip irrigation (black tubes)

In the Garden

It’s been a pretty dry couple of weeks, and I was just thinking about turning on my drip irrigation again. If you don’t have drip irrigation installed yet, it’s a pretty straightforward thing to do and it has many benefits:

  1. You save water — drip irrigation uses lots less water than sprinklers or watering with a hose. It also prevents evaporation. You can save 30-50% water using drip irrigation over conventional watering systems.

  2. Much more focused watering — since drip irrigation aims water at the roots, your plants get a longer, more concentrated watering time. The water goes where it needs to go, without getting on leaves (risk of burning in the sun, or getting a fungal disease) or around the plant (more risk of weeds taking water, not your plant).

  3. Very adaptable — more conventional systems are hard to move around. Drip irrigation can be moved easily and customized to whatever plant system you’ve got.

According to this guide from Green Thumb Nursery, there are a couple types of drip irrigation components:

  • Porous Soaker Hose: these are made from recycled car tires, and are great because all the water goes right into the soil. They’re especially suited to plant beds and rows of shrubs.

  • Raindrip Drip System: “The beauty of the Raindrip Drip System is that you just have to set it up and forget it. You simply attach the timer to the faucet, connect the supply line, lay it around your garden, and let the automated system do the rest. It distributes water more efficiently than traditional watering and saves water, time, and money. It is a great method to use to water your plants during a drought, and when there are watering restrictions.”

  • Micro-sprinklers: these can mist or be run to specific plants, and they use much less water than conventional sprinklers.

Main line hose (black), with drip hose (brown)

You can get drip irrigation systems at all major home improvement stores. My system is from Dripworks and I really recommend them — it was an easy setup and has been very straightforward to maintain over the years.

Happy dripping!

Gentle January

by Kelly Knight, Marketing Manager for The Good Table

From the Kitchen

Something I’ve been thinking about this week is about how rude New Year’s resolutions are. After the indulgence and coziness of December, the expectation that we’ll all just jump into goal-setting and capitalistic productivity just seems like a vast disconnect. No disrespect if that’s your vibe, but it’s always just seemed so weird to me that we’ve collectively decided, somewhat arbitrarily, that January is the time to optimize for our best selves.

It’s winter. Winter is a time for hibernation, for rest, for nestling ourselves in blanket forts with good books. One of my favorite writers, Helena Fitzgerald of Griefbacon, writes:

Winter … offers permission to turn away, to nest, to build forts and climb into the imagined worlds within them.

In winter I remember all the movies I always mean to get around to watching. It’s a good time for sitting down with multi-part epics and three-hour grand undertakings. I make up little thematic film festivals in my own home and drown the day in them. It’s easier to focus on a screen or a page indoors when outdoors is a cold, blank void. The sense of waiting that winter offers is sometimes a comfort. This is a time to plant and plan and not yet expect anything from the frozen ground. Here, work and love can be interior and unseen, burrowing through a long night, keeping warm and making plans for when springtime comes. Winter is comforting in a perverse way, but it’s still comforting all the same, huddled up in small spaces, making blanket forts and cooking a spicy heavy stew so that the house smells like an embrace, and then watching all the Matrix movies in one day without even feeling a little bit guilty. 

Instead of hopping right back into an exercise routine, a diet, or a bunch of habits I’ll probably leave behind by March, I’m going to embrace the concept of Gentle January.

I’ve seen this term around Instagram. It’s best encapsulated by this post:

My own Gentle January project is making toast. Toast is my coziest food - when I’m sick or sad, I reach for toast. But to make it interesting, I’ve been exploring toppings. As it turns out, toast is the perfect vehicle for pretty much anything! (Open secret: it’s basically an open-faced sandwich.)

Here are some of the toasts I’ve made during Gentle January:

From left to right, in rows, from the top:
1. Boursin garlic & herb cheese spread, homemade pickled red onions, manzanita olives, skipjack tuna
2. Cream cheese, roasted red peppers from a jar, crispy chickpeas
3. Cucumber, cream cheese, Trader Joe’s “Everything But the Bagel” seasoning
4. NuttZo nut butter, raspberries, hemp hearts
5. Goat cheese, beluga lentils, chives
6. Avocado, homemade pickled red onions, crispy chickpeas
7. Boursin garlic & herb cheese spread, homemade pickled carrots, fresh dill
8. Cream cheese, Fig & Apple tart cherry & white tea preserves
9. NuttZo nut butter, banana, shaved chocolate

There are endless variations, and it’s a pretty low barrier to entry to try this. You probably have a bunch of things on-hand to try. So if you’re looking for a snack or easy meal, try toast. Also, keep your twinkle lights up for January, if you haven’t taken them down already. Why not?

Have a great Gentle January everyone!

A New Year with Planting Justice

In Our Community

For those of you new to the blog, Planting Justice is our sister organization.

  • They’re a 501(c)3 non-profit benefiting local Bay area communities

  • They have local, organic nursery with rare and heirloom varieties

  • Programs include food justice education, holistic re-entry from prison, permaculture landscaping team, urban farms and training centers

  • They provide living-wage jobs for formerly incarcerated people

They’ll have an organic plant nursery at the site, as well as a commercial kitchen that will sell jams, jellies, and other products sourced from fruit from their orchard.

Image courtesy of Planting Justice

Wrapping up 2021 and moving into 2022, they’ve got a lot going on! (All excerpts from the Planting Justice Newsletter, which you can sign up for on their site.)


Expanding to Sacramento

We're moving into The Old City Nursery!

The old city nursery building

Our newest project will revitalize a long-vacant City-owned property by transforming it into a nationally significant center for urban agricultural training, entrepreneurship, multi-faceted bio-diversity, youth mentorship and education.

In addition to housing a Planting Justice plant nursery that features dense and climate-resilient plants, we'll be establishing mentorship and urban agricultural programs led by community partners Three Sisters Gardens and Yisrael Family Farm at the 5-acre former City Tree Nursery in Sacramento. 

Our site plans include roughly 1.2 acres of outdoor field production, 7,000 sq ft of indoor greenhouse production, and more than ¼ acre of nursery retail. We'll be using the space to sell products produced on site as well as products made by local crafts-makers and artisans utilizing natural and nontoxic materials, such as Sacramento-made soaps, essential oils, jam, and honey.

We'll also be creating a beautiful 1-acre production farm growing nutrient dense, medicinal vegetables and herbs. Produce will be distributed not only to restaurants and CSA members paying full price, but also to low-income elders, adults, and youth for free/sliding scale.

We're super excited to see this dream project come true! Our dear Victor was instrumental in bringing PJ to Sacramento, finding the perfect site and pushing through to make it happen. We're honored to open this site in his honor and to play a hand in training a generation of Sacramento community farmers.

Image courtesy of Planting Justice


Under Construction: Planting Justice Aquaponics Farm
How do you grow healthy food where there is no healthy soil to plant in?

Earlier this year we closed escrow on a 3 acre piece of land in East Oakland that will help us answer that exact question. Just a few doors down from our nursery at 319 105th Avenue, once opened, the aquaponics farm will produce over 200,000 lbs of fresh, organic produce per year. All grown using aquaponics technology!

Image collage courtesy of Planting Justice

top: Gordon (l) & Jon (r) clearing away leftover materials, bottom left: Otis and Yenni working together like Jordan and Pippen, bottom right: nursery team getting it done!

We're taking the site of a historical plant nursery and turning it into a new food production site for local communities, starting in East Oakland! Our team has been hard at work for MONTHS, tearing down old structures and making way for the new! We plan to open in 2022. This will be the first site of its kind and we hope it will set the foundation for many more to come.

Season for Giving

Community News

Want to make a positive impact this holiday season? Have you done well with investments this year? Have inherited wealth? Have a fossil fuel stock you'd love to unload in a way it will make a positive difference? Consider donating to our project to bring a pay-as-you-can community cafe + organic plant nursery to El Sobrante!

We'll have community yoga, movie nights, live music, plus great coffee, food, and a marketplace devoted to local artisans. Donate below or get in touch with us at info@the-good-table.org. All donations are tax-deductible.

The Good Table At Home: Overwintering Dahlias

by Kelly Knight, Marketing Manager for The Good Table


I’m a big fan of dahlias. I’ve even gone so far as to have them tattooed on my back. They’re my favorite flower, hands down. This past year, I cultivated a dahlia garden with ~16 varietals of dahlias, but now that winter is coming, it’s time to overwinter them!

The Bay Area is in the USDA Hardiness Zone 9A & 9B, so we don’t really have to dig up the dahlias — they’ll survive in the ground with mulch on top of their soil. But I do find that by digging them up and dividing them, I get more blooms the next year.

The process is pretty simple:

  1. Cut them down to the dirt, and wait 2 weeks to let the tubers harden off

  2. Dig up the tubers, brush off the loose dirt, and let them dry out for 2-3 days

  3. Separate them with a sharp tool, making sure you keep the eye and neck of the tuber intact

  4. Label them (either as a layer or clump, or individually)

  5. Store in a plastic bin with vermiculite or peat moss, in a dark place consistently around 50 degrees Fahrenheit — the coldest part of your basement, if you have one, or an uninsulated garage

If you’d like to see how to do this, here’s an informative YouTube video on how to set all this up:

Happy dahlia-ing! May your tubers be easily divided and your flowers be plentiful!

The Highest Form of Thought

by Kelly Knight, Marketing Manager for The Good Table

I would maintain that thanks are the highest form of thought, and that gratitude is happiness doubled by wonder.
— G.K. Chesterton


Spiritual Touchstone

I’ve been thinking about this quote a lot, about the space that gratitude and wonder take up in my life. Last year, it was pretty hard to be grateful about anything. Even now, I struggle with feeling good about Thanksgiving, given its highly problematic origins.

That said, I think gratitude as a daily practice is highly undervalued. People who practice gratitude are happier than those who do not. Gratitude does a couple of things: it helps you focus less on the bad things that are happening, and more on the good ones. With time, it also conditions you to be more sensitive to seeing and appreciating the goodness in your life.

Now I recognize that there’s privilege in that — there may not be a lot of good happening in your life right now. Maybe you feel isolated, or lonely, or sad. Maybe your financial circumstances aren’t the best right now, or familial or friend relationships are strained. But here a couple things I’m going to offer you that maybe we can all be grateful for right now, despite our individual circumstances:

  1. Rain came earlier this year. The October rains ended fire season a lot earlier than in years past, and we’re all breathing demonstrably cleaner air.

  2. Vaccines are slowly rolling out across the world. My kid got her first shot last week, and that felt like hope.

So even in the midst of things being tough, I’m grateful for these things. There’s so much work to do in the world, and that feels overwhelming and hard more often than it doesn’t, but I’m holding on to hope and gratitude to help me get by.

I wish you all a wonderful holiday season. And if you have the funds, please consider donating to some indigenous-led organizations, like these:

Sogorea Te' Land Trust is an urban Indigenous women-led land trust that facilitates the return of Indigenous land to Indigenous people.

Native American Advised Endowment Fund enhances Native lifeways now and for future generations in New Mexico by promoting a spirit of sharing and supporting community initiatives. The Fund supports efforts that emphasize the commitment to Native core values: community, language, culture, and environment.

The Good Table At Home: Gluten-Free Thanksgiving

by Kelly Knight, Marketing Manager for The Good Table

From the Kitchen

My partner is gluten-free and holidays have been kind of a nightmare for him in the past. Everyone kind of rolls their eyes at peoples’ food sensitivities when it gets in the way of them enjoying traditional recipes, which I understand: the need for rituals that repeat year after year is really strong! But: I want to make sure my partner enjoys the holiday without having the anxiety that something that tastes delicious will cause pain and discomfort later on. So this year, I’m extensively researching gluten-free recipes so that he can fully participate in the wonder and bounty of Thanksgiving!

Read on for a highly recommended gluten-free stuffing recipe, followed by a round up of other gluten- and dairy-free recipes to make your holiday more accessible.


This recipe is from A Spicy Perspective. They wrote some notes to get the most out of your stuffing:

Use the best Gluten-Free white bread you can find. Cut the bread into cubes and toast the cubes in the oven so they hold their shape after you add liquid.

Amp up the other ingredients. You never realize what a distinctly iconic flavor wheat has, until you stop eating it. In order to not miss the wheat in the Thanksgiving stuffing, you must add more pops of freshness than you might overwise. After all, stuffing is primarily bread, butter, and herbs, so make the butter and herbs count! Dried cranberries are another great distraction. The tangy-sweetness balances the savory flavors.

INGREDIENTS
12 cups Gluten-Free White Sandwich Bread, cut into 1/2 inch cubes (from 1 large loaf, or 2 average loaves)
1 cup butter (2 sticks)
1 large sweet onion, peeled and chopped
1 1/4 cup chopped celery
1/4 cup fresh chopped parsley
2 tablespoons fresh chopped sage
1 tablespoon fresh chopped rosemary
1 tablespoon fresh chopped thyme
3/4 cup dried cranberries
1 1/2 cup turkey stock (or chicken broth)
2 large eggs
Salt and pepper

INSTRUCTIONS

  1. Preheat the oven to 400 degrees F. Set out a 9 X 13 inch baking dish, a large rimmed baking sheet, and a large saute pan (or skillet.)

  2. Cut the gluten-free bread into cubes. Spread the cubes out on the baking sheet and toast in the oven for 8-10 minutes.

  3. Meanwhile, chop the onion, celery, and herbs. Set the sauté pan over medium heat and add the butter. Once the butter has melted, sauté the onions and celery for 3 minutes to soften.

  4. Add the fresh herbs and sauté another 1-2 minutes. Then turn off the heat.

  5. Pour the dried cranberries, and turkey stock into the saute pan. Add 1 1/4 teaspoons salt and 1/2 teaspoon ground black pepper. Stir to combine and lower the temperature. Then stir in the eggs until well combined. (Make sure the mixture is just a little warm before adding the eggs, so they don't cook.)

  6. Once the bread cubes come out of the oven, pour them in the 9 X 13 inch baking dish. Pour the broth and vegetable mixture over the cubes and toss. Gently mix until well combined. Then spread the stuffing out evenly in the pan.

  7. Cover the dish tightly with foil, and bake for 30 minutes. If you would like the top to be crispy, you can take the foil off the last 5-8 minutes. Serve warm.


Here are some more resources for gluten-free Thanksgiving dishes:

Enjoy your holiday, no matter where you fall on the gluten spectrum! I hope you find peace, comfort, and joy this holiday season.

The Good Table At Home: Literally the Best Pumpkin Bread

by Kelly Knight, Marketing Manager for The Good Table

Pumpkin can be divisive, especially when it comes to seasonal beverages. However, I happen to really love it, and I’m always on the hunt for a solid pumpkin bread recipe. This one from Smitten Kitchen is, hands down, the best one I’ve ever tried. It’s soft and warming, with the right balance of spices, and the cinnamon sugar crust on the top provides this crunch that’s truly divine. If you like pumpkin, you gotta try it.

Pumpkin bread, image: Kelly Knight

Pumpkin Bread
by Smitten Kitchen

INGREDIENTS
1 15-ounce can (1 3/4 cups) pumpkin puree
1/2 cup (120 ml) vegetable or another neutral cooking oil or melted butter (115 grams)
3 large eggs
1 2/3 (330 grams) cups granulated sugar
1 1/2 teaspoons baking powder
3/4 teaspoon baking soda
3/4 teaspoon fine sea or table salt
3/4 teaspoon ground cinnamon
Heaped 1/4 teaspoon fresh grated nutmeg
Heaped 1/4 teaspoon ground ginger
Two pinches of ground cloves
2 1/4 cups (295 grams) all-purpose flour

TO FINISH
1 tablespoon (12 grams) granulated sugar
1 teaspoon ground cinnamon

Pumpkin bread, putting on spices. Image: Kelly Knight

NOTES (from Deb of Smitten Kitchen)
This is a towering, craggy pumpkin bread with a crisp cinnamon sugar lid that is impossible not to pick off in deeply satisfying bark-like flecks. Trust me, someone in my family notnamingnames did exactly that this morning, and I almost cannot blame them.

Very key here is the size of your loaf pan because this will fill out every speck of it before it is done. Mine holds 6 liquid cups; it’s 8×4 inches on the bottom and 9×5 inches on the top. If yours is even slightly smaller or you’re nervous, go ahead and scoop out a little to make a muffin or two. You won’t regret that either. This also uses an excess of cinnamon sugar on top — it’s always too much and I cannot stop because I love the way it spills off when I slice it and then you can slide your slices through the extra. If this is going to bother you, however, go ahead and use half.

You can also make this as muffins. It should make about 18 standard ones and you can distribute the cinnamon sugar (perhaps make 1 1/2 tablespoons sugar and 1 1/2 teaspoons of cinnamon worth) across the tops before you bake them. They should bake for 25 to 30 minutes.

I’ve also made this with mashed sweet potatoes and other squashes with success (but if it’s more wet and thus the batter ends up more loose, be caaaaareful as it could throw this towering loaf into a spilling-over situation). And I’ve done it with half whole-wheat flour.

Finally, I know someone is going to say “that’s way too much sugar!” but please keep in mind this loaf is gigantic, easily 1.5x a normal one and the sugar is scaled accordingly. You can decrease it if you wish but we have made this now several times and many people have commented about how in-check the sugar level tastes, not over the top at all.

DIRECTIONS
Heat oven to 350 degrees F. Butter a 6-cup loaf pan or coat it with nonstick spray.

In a large bowl, whisk together pumpkin, oil, eggs and sugar until smooth. Sprinkle baking powder, baking soda, salt, cinanmon, nutmeg, ginger and cloves over batter and whisk until well-combined. Add flour and stir with a spoon, just until mixed. Scrape into prepared pan and smooth the top. In a small dish, or empty measuring cup, stir sugar and cinnamon together. Sprinkle over top of batter.

Bake bread for 65 to 75 minutes until a tester poked into all parts of cake (both the top and center will want to hide pockets of uncooked batter) come out batter-free, turning the cake once during the baking time for even coloring.

You can cool it in the pan for 10 minutes and then remove it, or cool it completely in there. The latter provides the advantage of letting more of the loose cinnamon sugar on top adhere before being knocked off.

Cake keeps at room temperature as long as you can hide it. I like to keep mine in the tin with a piece of foil or plastic just over the cut end and the top exposed to best keep the lid crisp as long as possible.

So good! Image: Kelly Knight